The Ultimate Guide to Red Hair Cosplay: From Basics to Pro Tips

Getting Started: The Essential Red Wig

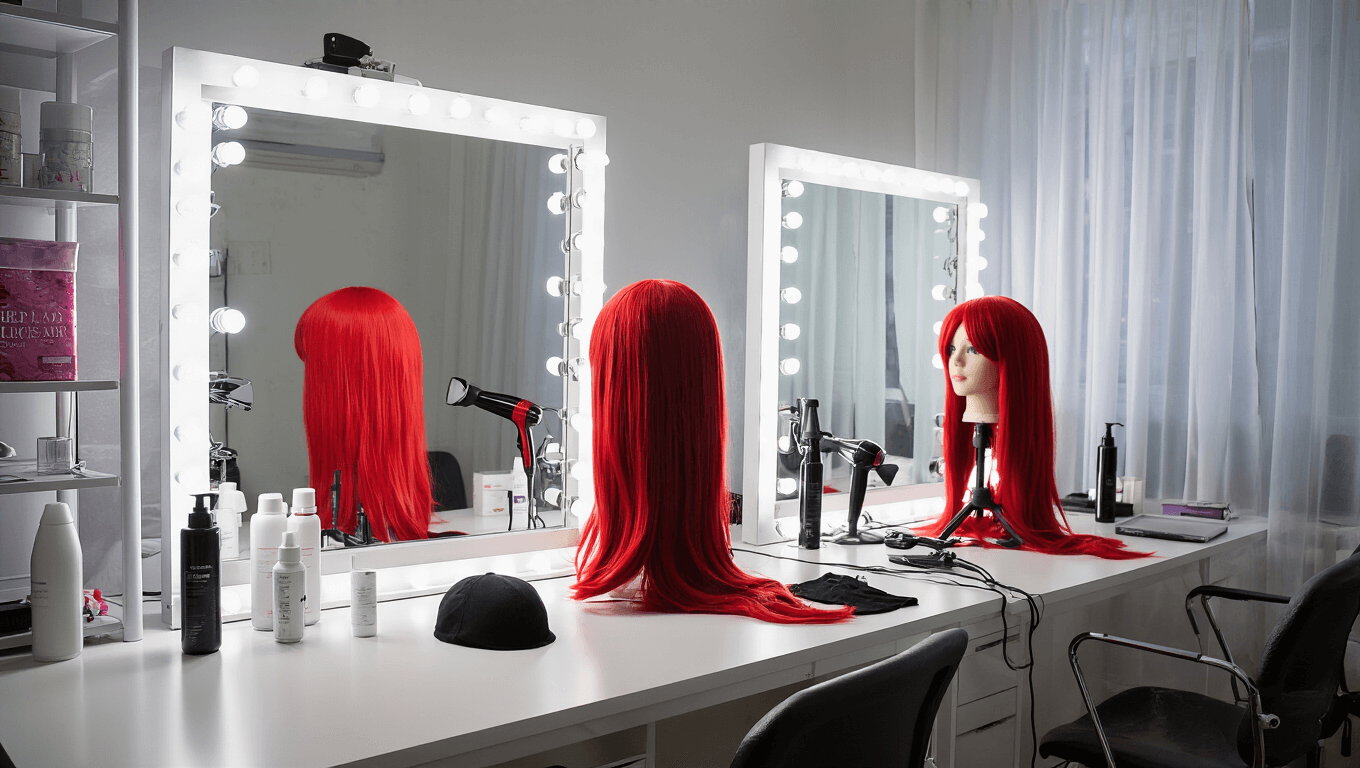
Let’s start with the most important piece – your wig! I learned this the hard way: not all red wigs are created equal.

You’ll want to invest in a high-quality cosplay wig that matches your character’s specific shade. Trust me, that $15 Halloween store wig won’t cut it for serious cosplay.

Key features to look for:

  • Heat-resistant fibers
  • Pre-styled or style-able
  • Natural-looking hairline
  • Comfortable wig cap

A brightly lit cosplay studio with white walls and mirrors, showcasing a styling station filled with high-quality red wigs on mannequins, highlighting intricate details of wig fibers and hairlines, with professional lighting and photography equipment in the background.

Essential Tools of the Trade

Before diving in, here’s what you’ll need:

  • Wig styling kit
  • Wig cap (get a few – they tear easily)
  • Heat-resistant styling products
  • Basic sewing kit for costume adjustments

A sunlit bedroom corner featuring a cosplay workspace with a wooden dresser showcasing neatly organized styling tools, a premium red wig on a stand, and a heat wand, all illuminated by golden hour light filtering through sheer curtains.

Character-Specific Tips

Ariel (The Little Mermaid)

My first red-haired cosplay was Ariel, and wow, did I learn some things! The key is getting that volume just right. I use a volumizing hair spray to achieve that signature bounce.

A model in Ariel cosplay with a bright red wig styled in voluminous waves stands against a seafoam backdrop, surrounded by volumizing products and styling tools, with studio strobes and softboxes illuminated, captured with a Canon 5D Mark IV.

Poison Ivy

For Ivy’s look, you want a deeper red with some auburn undertones. Don’t forget the green accessories – they make the hair pop!

A moody studio shot of a Poison Ivy cosplay setup featuring a deep auburn red wig styled in loose waves, surrounded by artificial ivy and green accessories, with dramatic side lighting highlighting the wig's vibrant color variations, captured from a 45-degree angle.

Jessica Rabbit

This one’s tricky! The key is finding a wig that’s long enough to style into those iconic waves. I use a heat styling wand for perfect results.

A behind-the-scenes cosplay preparation area featuring a white vanity adorned with wig caps, bobby pins, and styling products, illuminated by natural window light. A bright red Jessica Rabbit-style wig is being meticulously styled with a curved wand, showcasing detailed wave formations in a macro view, all under soft, diffused lighting.

Photography Tips

When shooting red hair cosplay:

  • Natural light is your best friend
  • Avoid direct sunlight (it washes out the color)
  • Take test shots to check the wig’s color accuracy
  • Multiple angles show off your hard work

Outdoor photoshoot during golden hour in a garden, featuring a model with a styled red wig, illuminated by natural backlight for a halo effect, captured with an 85mm lens at f/1.8 for stunning bokeh.

Common Mistakes to Avoid

I’ve made plenty of these myself:

  • Skipping the wig cap (big mistake!)
  • Using too much styling product
  • Forgetting to secure props properly
  • Not testing makeup with the wig color

Remember, cosplay is about having fun while bringing your favorite characters to life. Don’t stress too much about perfection – every cosplayer starts somewhere!

What red-haired character are you planning to cosplay? Drop a comment below – I’d love to hear your ideas and share more specific tips!

A modern cosplay workspace featuring LED ring lights and mirrors, showcasing a step-by-step styling progression of a red wig from basic cap application to the final styled look. Professional tools and products are neatly arranged in the foreground, captured in clean, editorial style photography with even lighting.

Pin This Now to Remember It Later
Pin This

Leave a Comment

Your email address will not be published. Required fields are marked *

Scroll to Top