DIY Shadow Boxes: The Ultimate Guide for Creators and Home Decor Enthusiasts
Contents
- DIY Shadow Boxes: The Ultimate Guide for Creators and Home Decor Enthusiasts
- Why Shadow Boxes Are a Game-Changer
- What You’ll Need: Shadow Box Essentials
- Step-by-Step Shadow Box Creation
- 1. Plan Your Design
- 2. Prepare Your Materials
- 3. Create Your Background
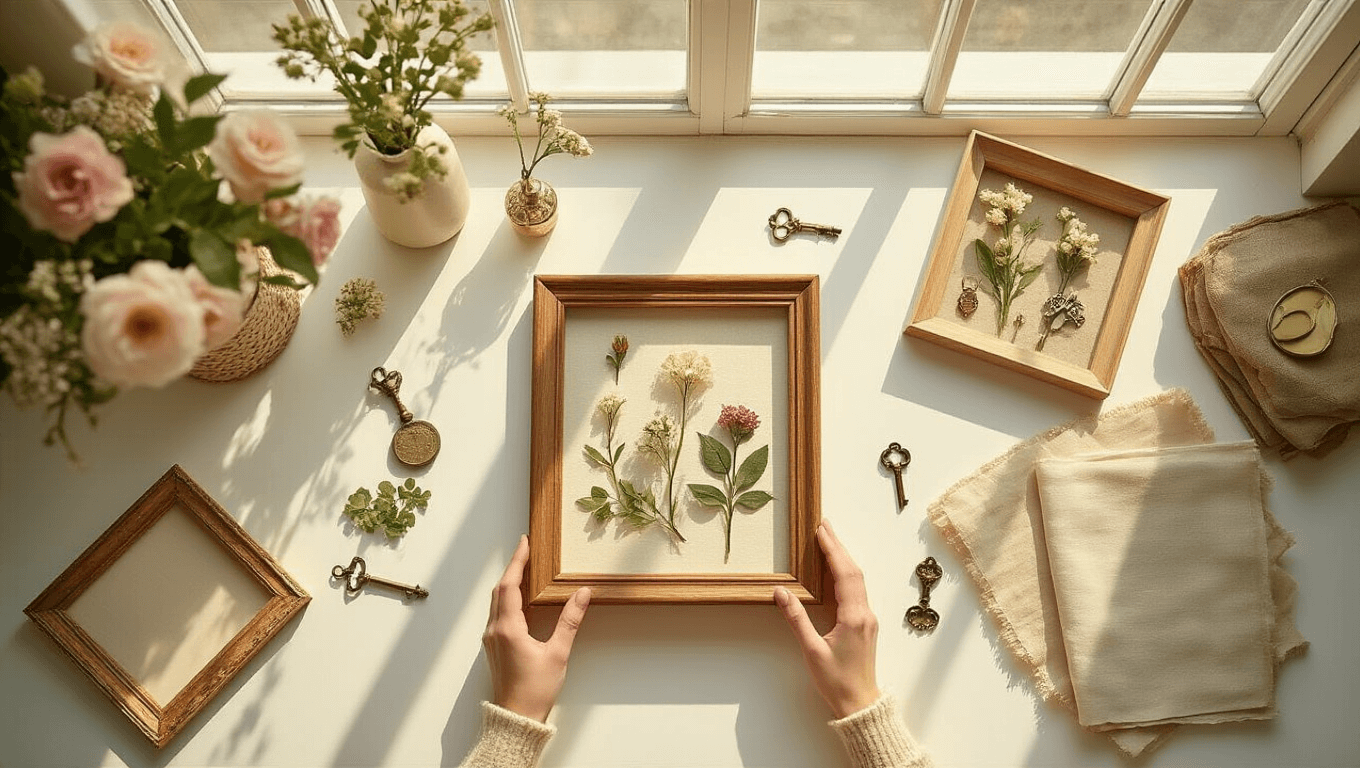
- 4. Mounting Your Treasures
- Pro Styling Secrets
- Lighting Magic
- Maintenance and Updates
- Common Mistakes to Avoid
- Final Thoughts
- Quick Reference Checklist
Shadow boxes are your secret weapon for transforming ordinary props and memories into stunning visual displays. Whether you’re a content creator, photographer, or home decor lover, this comprehensive guide will walk you through creating the perfect shadow box that’ll make your space pop!

Why Shadow Boxes Are a Game-Changer
Let’s be real – we all have those special items that deserve more than being tossed in a drawer. Shadow boxes are the ultimate solution for:
- Protecting delicate props and collectibles
- Creating eye-catching wall art
- Showcasing your most cherished memories
- Adding personality to any space
What You’ll Need: Shadow Box Essentials
Grab these must-have items before you start:
- Wooden picture frame
- Plywood or backing board
- Acrylic sheet
- Wood glue
- Mounting hardware
- LED strip lights (optional but recommended)

Step-by-Step Shadow Box Creation
1. Plan Your Design
Before diving in, consider:
- What’s your focal point?
- What’s the overall aesthetic?
- Where will you display it?
2. Prepare Your Materials
- Measure twice, cut once
- Clean all materials thoroughly
- Ensure your frame is sturdy and the right depth

3. Create Your Background
Pro tip: Your background can make or break the entire display. Consider:
- Textured fabrics
- Solid color papers
- Patterned backgrounds
- Themed materials that complement your props
4. Mounting Your Treasures
Tricks for perfect prop placement:
- Use museum putty for delicate items
- Create risers with foam board
- Layer items at different depths
- Use invisible mounting techniques

Pro Styling Secrets
Visual Composition Rules:
- Group items in odd numbers
- Create depth with layering
- Leave some negative space
- Balance heights and sizes
Lighting Magic
Lighting can transform your shadow box from good to absolutely stunning:
- Use soft LED strips
- Create dramatic shadows
- Highlight key elements
- Experiment with different light temperatures

Maintenance and Updates
Keep your shadow box looking fresh:
- Dust regularly
- Update backgrounds seasonally
- Rotate props
- Experiment with new arrangements
Common Mistakes to Avoid
- ❌ Overcrowding your display
- ❌ Ignoring background color
- ❌ Using damaged or dirty props
- ❌ Forgetting to secure items properly

Final Thoughts
Shadow boxes are more than just display cases – they’re storytelling tools that capture moments, showcase your creativity, and add personality to any space.
Pro Tip: Don’t be afraid to break the rules and create something uniquely yours!

Quick Reference Checklist
- [ ] Choose your frame
- [ ] Select background material
- [ ] Gather props
- [ ] Plan layout
- [ ] Mount items
- [ ] Add lighting
- [ ] Enjoy your creation!
Ready to create your first shadow box? Let’s hear about your project in the comments!