Room Lighting Photography: Your Complete Guide to Capturing Stunning Indoor Shots
Room lighting photography has always been my biggest challenge, and I bet it’s yours too.
I remember my first attempt at photographing a beautifully decorated living room—the colors looked muddy, shadows fell in all the wrong places, and the whole thing just felt flat.
Nothing like what I saw with my eyes.
Here’s what I’ve learned after years of trial and error: lighting isn’t just about brightness, it’s about understanding how light moves through your space and bending it to your will.
Why Your Room Photos Look Nothing Like Real Life
Let me guess—you’ve taken a photo of your gorgeous bedroom, and somehow it looks like a cave on your camera screen.
Or maybe everything’s washed out and lifeless.
The problem isn’t your camera.
It’s that our eyes naturally adjust to different lighting conditions, but cameras capture exactly what’s there—the good, the bad, and the horribly shadowed.
Most people make three massive mistakes:
- Relying solely on overhead ceiling lights (the worst possible choice)
- Ignoring natural light patterns throughout the day
- Mixing different types of light without understanding color temperature
I’ve made all these mistakes, and they cost me hours of frustration and dozens of unusable photos.

Start By Reading Your Room Like a Map
Before you touch a single light switch or camera setting, spend a full day observing your space.
I know this sounds excessive, but trust me.
Walk through your room every few hours and notice where light enters naturally.
Windows are your best friends.
Stand near each window and watch how light behaves.
Morning light floods through my east-facing bedroom window with a soft, warm glow—perfect for cozy, intimate shots.
Afternoon light in my west-facing living room creates dramatic shadows that work beautifully for moody photography.
Open every blind, curtain, and door you can.
Natural light is almost always more flattering than artificial sources, and it’s completely free.
The Natural Light Playbook I Wish Someone Had Given Me
Position Your Subject Facing the Light
This was a game-changer for me.
When your subject (whether it’s a person, a piece of furniture, or a styled vignette) faces toward the light source, everything just works.
Shadows fall naturally behind, and you get that gorgeous catch light that makes photos feel alive.
I photograph my daughter’s room this way every time—positioning her bed at an angle where the window light hits the pillows directly.
Try the 45-Degree Angle
Stand with your back partially to the window, with light hitting your subject at about 45 degrees.
This creates dimension and depth that straight-on lighting can’t match.
The shadows aren’t harsh, just enough to show texture and shape.
I use this technique constantly for photographing styled bookshelves and gallery walls.
Backlighting for Drama
Want something striking?
Place your subject between your camera and a window.
Yes, directly in front of the light source.
This creates silhouettes and that ethereal, glowy effect you see in magazine spreads.
I photographed my plants this way last week, and the translucent leaves looked absolutely magical.
Hunt for Light Pockets
Even in dark rooms, small areas of concentrated light create incredible photo opportunities.
That single beam hitting your reading chair in the corner?
Perfect.
The strip of light across your hardwood floor?
Gold.
These pockets of light tell stories that evenly lit rooms simply can’t.

When Natural Light Isn’t Enough (And It Often Isn’t)
Let’s be honest—natural light is gorgeous but unpredictable.
Cloudy days happen.
Evening shoots happen.
North-facing rooms exist.
This is where artificial lighting saves your photography life.
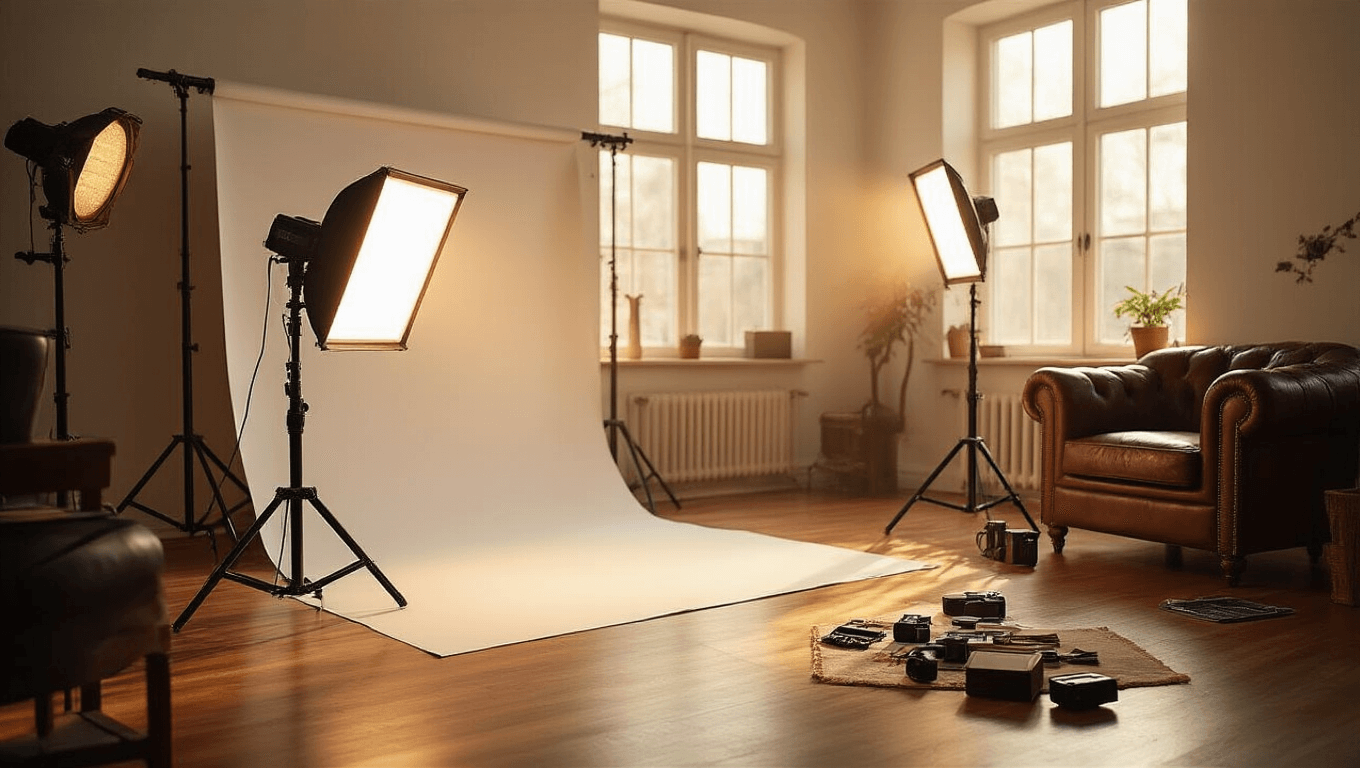
Start With Continuous Lights, Not Flash
I wasted money on speedlight flashes early on, and they sat unused for months.
Why?
Because I couldn’t see what the light would look like until after I took the shot.
Continuous lights—lights that stay on constantly—show you exactly what you’re getting in real time.
LED panels have become my go-to choice.
They’re bright, controllable, and you can mount them on light stands wherever you need them.
For budget-conscious photographers, regular light bulbs in softboxes work beautifully too.
I started with a $30 bulb and softbox kit from Amazon, and it dramatically improved my photos overnight.

The Technical Stuff That Actually Matters
Color Rendering Index (CRI): Don’t Skip This
When I first started buying lights, I grabbed whatever was cheapest.
Big mistake.
The colors in my photos looked weird—skin tones went orange, whites looked dingy, and I couldn’t figure out why.
The culprit? Low CRI lights.
CRI measures how accurately a light source shows true colors.
Always choose lights with a CRI of at least 90.
This single specification transformed my work from amateur-looking to professional.
Color Temperature: Stop Fighting Mixed Lighting
Here’s where most people’s photos fall apart.
Your window light is around 5,500K (bluish-white).
Your table lamp is probably 2,700K (warm yellow-orange).
Your overhead light might be 4,000K (neutral white).
Mix all three, and your photos look like they can’t decide what color anything should be.
For warm, cozy room photography: Use lights around 2,700K–3,200K
For bright, clean, magazine-style shots: Use lights around 5,500K–6,500K
Pick one color temperature and stick with it throughout your entire setup.
I keep warm bulbs for bedroom and living room photography, and daylight bulbs for kitchen and bathroom shots.
Wattage: More Isn’t Always Better
For small room photography—bedrooms, home office corners, styled tablescapes—60-100W LED lights work perfectly.
Larger spaces like entire living rooms or open-concept areas need more power, sometimes 150W or higher.
The game-changer for me was investing in dimmable lights.
Being able to dial brightness up or down gives you infinite control without moving equipment.


