DIY Costume Hangers and Hooks: Transform Your Closet into a Display-Worthy Space
Contents
- DIY Costume Hangers and Hooks: Transform Your Closet into a Display-Worthy Space
- Why Your Costumes Deserve Better Than Dollar Store Hangers
- Method 1: Fabric-Wrapped Hangers (The Gateway Drug of DIY Hangers)
- What You Actually Need
- The Wrapping Process That Actually Works
- Conquering the Hook (The Part That Trips Everyone Up)
- My Favorite Fabric Combinations
- Method 2: Painted Wooden Hangers with Custom Designs
- Supply Shopping List
- The Base Coat Process
- Adding Decorative Elements
DIY costume hangers don’t have to be boring plastic afterthoughts shoved in the back of your closet.
I used to throw my carefully crafted costumes onto whatever hanger I could grab first, watching in horror as shoulders sagged, embellishments snagged, and delicate fabrics slipped onto the floor.
Then I discovered that making custom hangers wasn’t just possible—it was actually fun, affordable, and made my costume collection look like it belonged in a boutique.
Why Your Costumes Deserve Better Than Dollar Store Hangers
Let me be blunt here.
You spent hours (maybe weeks) creating or buying that costume, and you’re going to hang it on a flimsy wire hanger that costs less than a coffee?
Standard hangers cause real damage:
- Wire hangers create shoulder bumps and distort garment shapes
- Plastic hangers crack under weight and snag delicate fabrics
- Smooth surfaces let slippery costume materials slide right off
- Generic hangers offer zero protection for embellishments, sequins, or beading
I learned this the hard way when my favorite Renaissance faire bodice developed permanent hanger marks across the shoulders.
Never again.

Method 1: Fabric-Wrapped Hangers (The Gateway Drug of DIY Hangers)
Time needed: 30-45 minutes per hanger
Skill level: If you can wrap a gift, you can do this
This technique saved my sanity and my fabric scrap bin.
I had pounds of leftover ribbon, trim, and fabric strips from various projects cluttering my craft space, and suddenly they all had a purpose.
What You Actually Need
Grab these supplies and you’re golden:
- Wooden or plastic hangers (whatever you have works)
- Fabric strips cut to 1 inch wide or less
- A basic glue stick (seriously, that’s it)
- Scissors
- Optional: decorative ribbon for extra flair

The Wrapping Process That Actually Works
Start at one end of the hanger arm.
Dab glue on the hanger surface, press your fabric strip down, and begin wrapping at a slight diagonal.
Keep the fabric taut—loose wrapping looks sloppy and unravels faster than your motivation on a Monday morning.
Here’s the trick nobody tells you: overlap each wrap by about one-third of the fabric width.
This prevents gaps and creates a professional finish that looks like you bought it from an overpriced boutique.
When you run out of fabric on one strip, secure the end with glue and immediately start the next strip right where the previous one ended.
No gaps, no bumps, just smooth transitions.
Conquering the Hook (The Part That Trips Everyone Up)
The hook is where most DIY-ers give up and call it “rustic charm.”
Don’t be that person.
Wrap your fabric strip around the base of the hook where it meets the hanger, securing with extra glue.
Fold the fabric strip up and over the top of the hook.
Wrap back down the other side.
Secure the end where the hook meets the hanger again.
It takes practice, but after your third hanger, your hands will know exactly what to do.

My Favorite Fabric Combinations
I’ve wrapped probably 50 hangers at this point, and these combinations always get compliments:
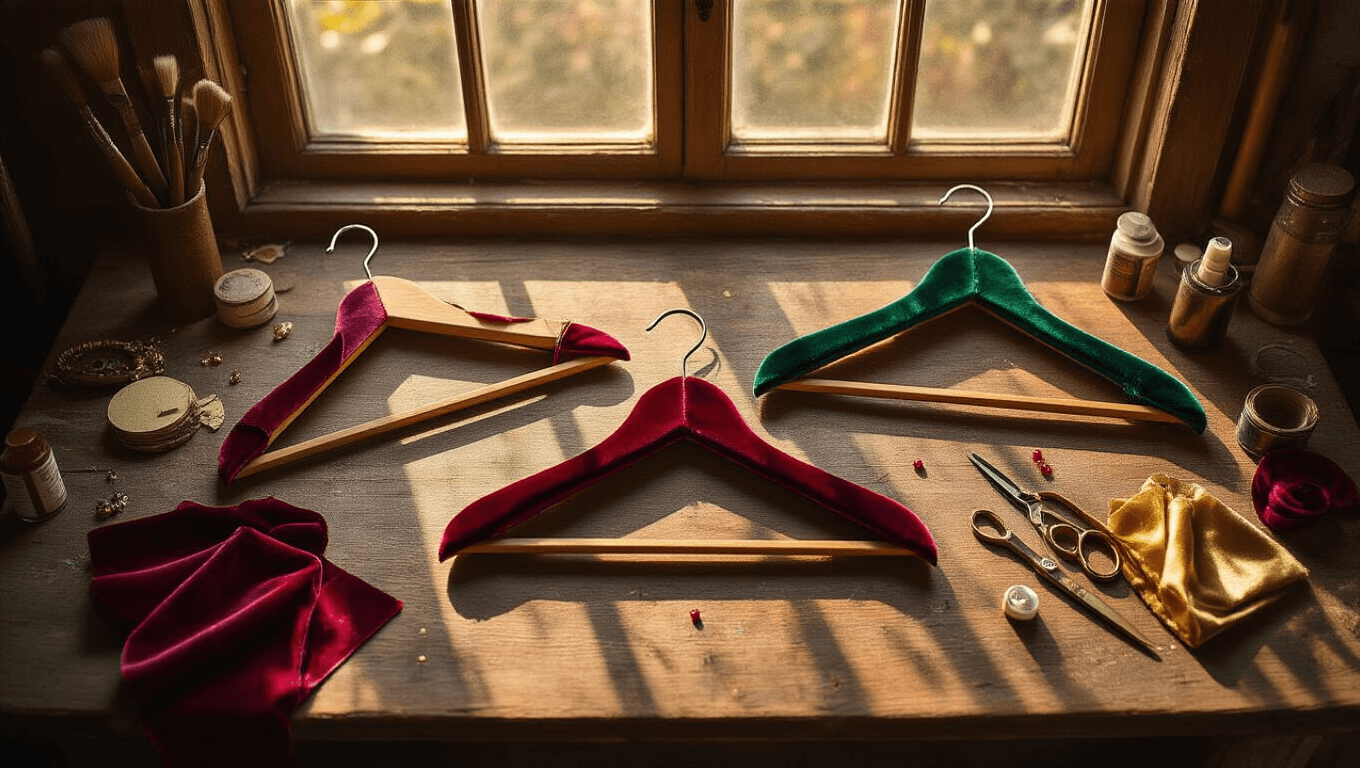
- Velvet ribbon for Victorian and historical costumes (adds grip and looks expensive)
- Satin strips in jewel tones for formal gowns and fancy dress
- Cotton prints for casual cosplay and everyday costume pieces
- Lace trim for lingerie-style costumes and delicate garments
Method 2: Painted Wooden Hangers with Custom Designs
Time needed: 1-2 hours (plus drying time)
Skill level: Intermediate—requires some painting confidence
This is where you can get genuinely creative and make hangers that match specific costumes or themes.
I made a set of galaxy-painted hangers for my sci-fi costumes, and they look so good that friends ask where I bought them.
Supply Shopping List
You’ll need:
- Unfinished wooden hangers (or sand down finished ones)
- Acrylic paint in your chosen colors
- Sandpaper (40-60 grit for stripping, 220 grit for smoothing)
- Paintbrushes in various sizes
- Clear sealant spray (protects your work and prevents paint transfer)
- Optional: stencils, stamps, or printed images for decoration

The Base Coat Process
Sand your wooden hangers smooth.
This step is non-negotiable if you want professional results instead of a lumpy mess.
Wipe away all the dust with a slightly damp cloth.
Apply your base coat color using smooth, even strokes.
Pro tip from someone who learned the hard way: paint in the same direction for each coat, alternating directions between coats.
This prevents visible brushstrokes and creates an even finish.
Let each coat dry completely before adding the next.
I usually do 2-3 coats depending on color coverage.
Adding Decorative Elements
This is where your personality shines through.
Try these decoration ideas:
- Print themed images on regular paper, cut them out, and adhere with Mod Podge
- Use stencils to add patterns, symbols, or character logos
- Hand-paint designs if you’re artistically inclined (I am not, so I stick with stencils)