How I Finally Conquered My Cosplay Supply Chaos (And You Can Too)
Contents
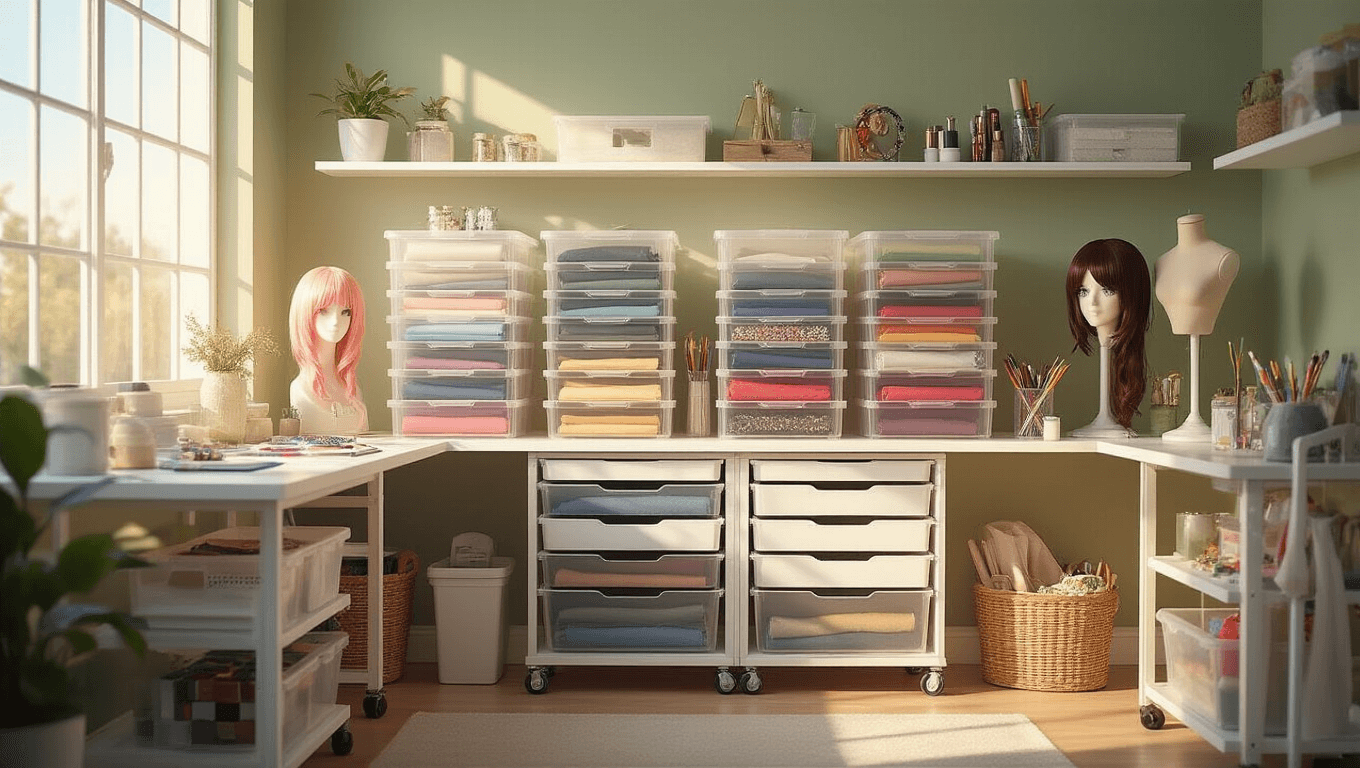
Effective cosplay craft supply organization starts with one brutal truth: that mountain of fabric, wigs, and random gems threatening to consume your bedroom isn’t going to organize itself.
I learned this the hard way after spending forty-five minutes hunting for a single zipper I knew I had somewhere, only to find it three months later stuck to a piece of Velcro in a completely different project bin.
Sound familiar?
Look, I get it. You come home from a convention buzzing with ideas, dump your supplies wherever there’s space, and promise yourself you’ll deal with it “later.” Except later never comes, and suddenly you’re buying duplicate materials because you can’t find what you already own.
Let me show you how to fix this mess once and for all.
")
Why Your Current System Isn’t Working
Before we dive into solutions, let’s talk about why most cosplayers struggle with organization.
You’re treating symptoms, not the disease.
Shoving everything into random boxes feels productive in the moment, but without a real system, you’re just moving chaos from one place to another.
The three biggest mistakes I see (and definitely made myself):
- Storing complete costumes together instead of organizing by material type
- Using opaque containers that hide what’s inside
- Keeping every single scrap “just in case” until your space becomes a fabric graveyard
Ready to do this properly?
Sort Your Supplies Like a Professional Props Master
The foundation of any organization system is categorization.
Forget organizing by costume or convention. That’s amateur hour.
Group everything by material type.
This single change transformed my crafting efficiency because now I can see my entire fabric collection at a glance, compare colors instantly, and grab exactly what I need without excavating six different boxes.
Here’s how to break it down.
Fabric and Textiles: Stop the Avalanche
Your fabric stash probably looks like a textile explosion right now.
Here’s what actually works:
Store all fabric in large plastic storage bins or fabric storage cubes.
Group pieces by color or project type—whichever makes more sense for how you actually work. I organize mine by color because I’m visually driven, but if you’re a project planner, grouping by costume works too.
Pro tip: Those empty holiday decoration bins sitting in your garage? Perfect for consolidating fabric during your initial reorganization.
Here’s the part nobody wants to hear: you need to ruthlessly evaluate your scraps.
That tiny triangle of satin you’ve moved three times? If it’s smaller than your hand and you can’t envision using it in the next six months, it goes.
I donated bags of fabric scraps to local theater groups and suddenly had space to actually work.
Label every single bin.
Use a label maker or even just masking tape and a Sharpie. Future you will thank present you when you can identify “metallic gold fabrics” without playing storage container roulette.
")
Small Accessories: The Stuff That Always Disappears
Beads, gems, rhinestones, thread, zippers, bias tape, ribbons, buttons—this category is where chaos breeds.
The solution is compartmentalization.
Get yourself some drawer organizers or dedicated bead organizer boxes from craft stores.
These compartmentalized systems are absolute game-changers because:
- Nothing gets mixed together
- You can see exactly what you have
- Grabbing one item doesn’t create an avalanche of everything else
For the truly tiny pieces—earrings, hairpins, individual cuffs—I use small organza bags inside the larger containers.
This double-layer system keeps the micro-items contained while still being visible and accessible.
Group like with like:
- All thread together (organized by color if you’re feeling ambitious)
- Zippers in one section (sorted by length)
- Ribbons and trims together
- Beads and gems by color or size
I spent maybe two hours doing this initial organization, and it’s saved me countless hours of frustrated searching since.
")
Wigs and Hair Supplies: Protect Your Investments
Wigs are expensive, and treating them like afterthoughts is basically lighting money on fire.
Never, ever store wigs in plastic bags long-term.
They’ll get matted, tangled, and potentially damaged.
Instead, invest in wig stands for your active rotation.
For wigs you’re not currently using, store them in labeled containers where they can maintain their shape. I use clear storage boxes so I can see which wig is which without disturbing them.
Keep all your wig styling supplies together in one basket:
- Wig caps
- Bobby pins and wig clips
- Wig brushes and combs
- Got2B Glued or other styling products
- Wig tape and adhesive
This way, when you’re getting ready for a convention, everything you need is in one spot instead of scattered across your entire living space.
")
Paints, Dyes, and Adhesives: The Messy Stuff
This category can quickly become a sticky, stained disaster if you’re not careful.
Create a dedicated “consumables” station.
Use labeled baskets or shallow drawer organizers to keep:
- Paint brushes (cleaned and properly stored, not crusty)
- Glue varieties (hot glue, E6000, fabric glue, etc.)
- Fabric dyes and leather dyes
- Markers and paint pens
- Stamps and stencils
- Decorative tape and washi tape
I keep everything in a rolling cart so I can move my entire painting station wherever I need to work.
Critical rule: Always close lids tightly and store bottles upright.
I learned this after a bottle of fabric dye leaked all over a bin of perfectly good craft foam. Don’t be me.


