Dabi Cosplay Makeup: How I Create That Iconic Burnt Villain Look
Contents
Dabi cosplay makeup is honestly one of the most challenging but rewarding looks I’ve ever worked on.
If you’re diving into the world of My Hero Academia cosplay, you already know Dabi isn’t your typical character. He’s dark, mysterious, and covered in those gnarly purple burn scars that make him instantly recognizable.
I’m not gonna lie—getting those burnt patches to look real and not like you just smeared random purple all over your face takes practice. But once you nail it? You’ll feel like you just stepped straight out of the anime.
I’ve spent way too many hours perfecting this look, making mistakes, and figuring out what actually works versus what looks good in theory but terrible in photos. So let me walk you through everything I’ve learned about creating authentic Dabi cosplay makeup that’ll make people do a double-take at your next convention.

Why Dabi’s Look Is So Hard to Get Right
Here’s the thing about Dabi that makes his makeup tricky. Those aren’t just simple face paint splotches. His entire character design revolves around the fact that his body is literally falling apart from his own quirk. The burns aren’t symmetrical, they’re not clean, and they definitely aren’t pretty.
That’s what makes them so cool to recreate but also kinda frustrating when you’re trying to figure out where exactly those patches go. I’ve seen so many cosplayers (including myself in my early attempts) who just slap on some purple eyeshadow and call it a day. It ends up looking flat and honestly kinda boring.
The secret is in the layering, the texture, and understanding that Dabi’s scars tell a story about his character.

Understanding Dabi’s Character Appearance
Before we even touch makeup, let’s talk about what we’re actually trying to recreate. Dabi’s got pale skin that’s covered in these dark purple and burnt scar patches. They’re mostly concentrated under his eyes, on his chin going down to his collarbone, across his torso and arms, and on his legs too.
His eyes are this piercing turquoise blue color with a heavily lidded look that makes him seem tired or just completely over everything. His hair is black and super spiky, though if you know the manga you know it’s actually white underneath. He’s also got multiple ear piercings which adds to that whole “I don’t care what you think” vibe.
The burns themselves create this asymmetrical texture across his whole body. They’re not uniform or neat, which is exactly what we need to remember when applying makeup. Real burn scars don’t follow rules, and neither should your makeup application.

What You’ll Need for Dabi Cosplay Makeup
Let me save you some time and money by telling you what actually works. I’ve tried cheap products and expensive ones, and honestly there’s a sweet spot. Here’s what I keep in my Dabi makeup kit:
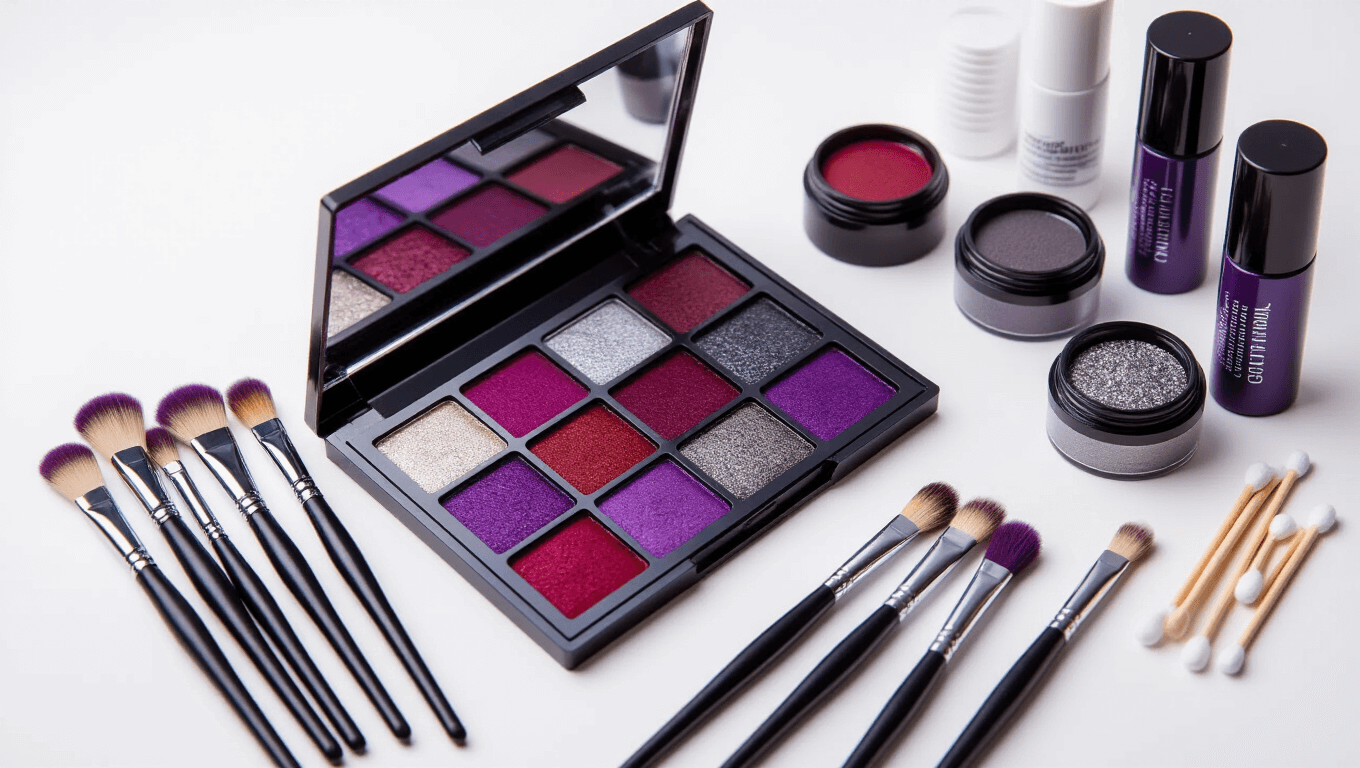
Face Products:
- Good primer (this is gonna be a long day, trust me)
- Foundation that matches your skin tone
- Purple eyeshadow palette with both light and dark shades
- Dark red eyeshadow
- Black eyeshadow
- Dark brownish-red eyeshadow for blending
- Gray face paint or eyeshadow
- White face paint (get the good stuff, not watery)
- Mehron Paradise face paint if you can swing it
Eye and Detail Products:
- Black eyeliner (pot liner works great)
- Waterproof eyeliner for stuff that needs to last
- Concealer for cleanup
- Shiny metallic eyeshadow (silver or gray)
Tools:
- Different sized brushes (you’ll need precision and blending)
- Sponges for foundation
- Q-tips for fixing mistakes
Finishing Touches:
- Black spiky wig or black hair dye if you’re committed
- Setting spray (seriously, don’t skip this)
You don’t need every expensive brand out there. But don’t go too cheap on the face paints because they’ll crack or fade halfway through the con.

Step-by-Step Dabi Makeup Application
Alright, here’s where we get into the actual process. I’m gonna break this down exactly how I do it, mistakes and learning moments included.
Prepping Your Face
Start with clean, moisturized skin. I know it sounds basic but if your skin is dry or oily, everything you put on top is gonna look weird. Apply your primer all over your face, neck, and any other areas you’re planning to paint. Let it sit for a minute while you get your products organized. Then apply your foundation to create that pale base.
Dabi’s skin is noticeably pale, so you might wanna go a shade or two lighter than your natural skin tone. Blend it down your neck and chest area if you’re doing the full burn effect. Nothing looks worse than a perfectly made up face sitting on top of a completely different colored neck.
Creating the Burnt Skin Patches
This is where the magic happens and also where most people mess up.
Starting with the base colors:
Grab your dark red eyeshadow first. Look at reference pictures of Dabi and loosely map out where his major burn patches go. Under both eyes, chin extending down the neck, along the jawline, and down the arms if you’re going full body.
Apply the dark red in irregular patches—not clean lines. Burns don’t have sharp edges usually, they’re messy and unpredictable. Don’t worry about making it perfect, that’s not the goal here.
Layering the purple tones:
Now take your dark purple eyeshadow and layer it over those red patches. This is what gives it that signature Dabi burnt look. The purple should be heavier in some areas and lighter in others. I usually go darker around the edges and lighter toward the middle of each patch. This creates depth and makes it look more three-dimensional instead of flat.
Adding texture and variation:
Here’s where you stop following a pattern and start getting creative. Take your black eyeshadow and add random lines and streaks within the purple areas. Not everywhere, just here and there to break up the solid color. Then blend those black lines with a dark brownish-red color. This creates that burned, damaged skin texture that makes Dabi’s scars look realistic.
trying to create hard lines—you want everything to melt together naturally.
Once you’ve got your burn patches looking good, use your concealer to clean up any edges that got too messy. Then go over everything with a metallic gray or silver eyeshadow to add those signature staples that hold Dabi’s skin together. Draw small lines across where the burnt skin meets the normal skin. These little details really sell the whole look.
Finish everything off with setting spray. And I mean really spray it down. You’ve just spent an hour on this masterpiece and the last thing you want is it melting off before you even get to the convention floor.
Bringing It All Together
Dabi cosplay makeup is definitely not for beginners, but don’t let that scare you off. The first time I tried it, I looked more like I’d gotten into a fight with a purple marker than an anime villain. But with practice and the right products, you’ll get there.
The key takeaways? Layer your colors from dark red to purple to black, blend everything so there are no harsh lines, and don’t forget those metallic staple details that make Dabi’s look so iconic. Most importantly, have fun with it. Dabi’s whole vibe is chaotic and unpredictable, so your makeup doesn’t need to be perfect—it just needs to tell a story.
Now go ahead and terrify some heroes at your next con. You’ve got this.