DIY Themed Cork Boards: Creative Approaches and Ideas
Contents
Themed cork boards combine functional organization with decorative design, and I’m going to show you exactly how to transform a boring bulletin board into something you’ll actually want to look at every day.
I’ve made more cork boards than I care to admit. Some were gorgeous. Others looked like a craft project gone wrong. But I learned something from every single one.
The difference between a cork board that inspires you and one that collects dust has nothing to do with artistic talent. It’s about knowing which techniques work and which ones are a complete waste of time.

Why Your Cork Board Probably Looks Boring (And How to Fix It)
Most cork boards fail because they’re just… there. Hanging on the wall. Brown. Uninspiring.
You pin a few things up, they fall off, and eventually the board becomes invisible.
The solution isn’t complicated. You need intention. You need a theme. And you need to stop treating it like an afterthought.
Let me walk you through the methods that actually work.
The Four Main Ways to Transform Your Cork Board
I’ve tried every technique under the sun. These four consistently deliver results.
Paint It Like You Mean It
Acrylic paint on cork creates a completely different surface.
You can go subtle with a single color wash. You can go bold with geometric patterns. You can even stencil words that actually mean something to you.
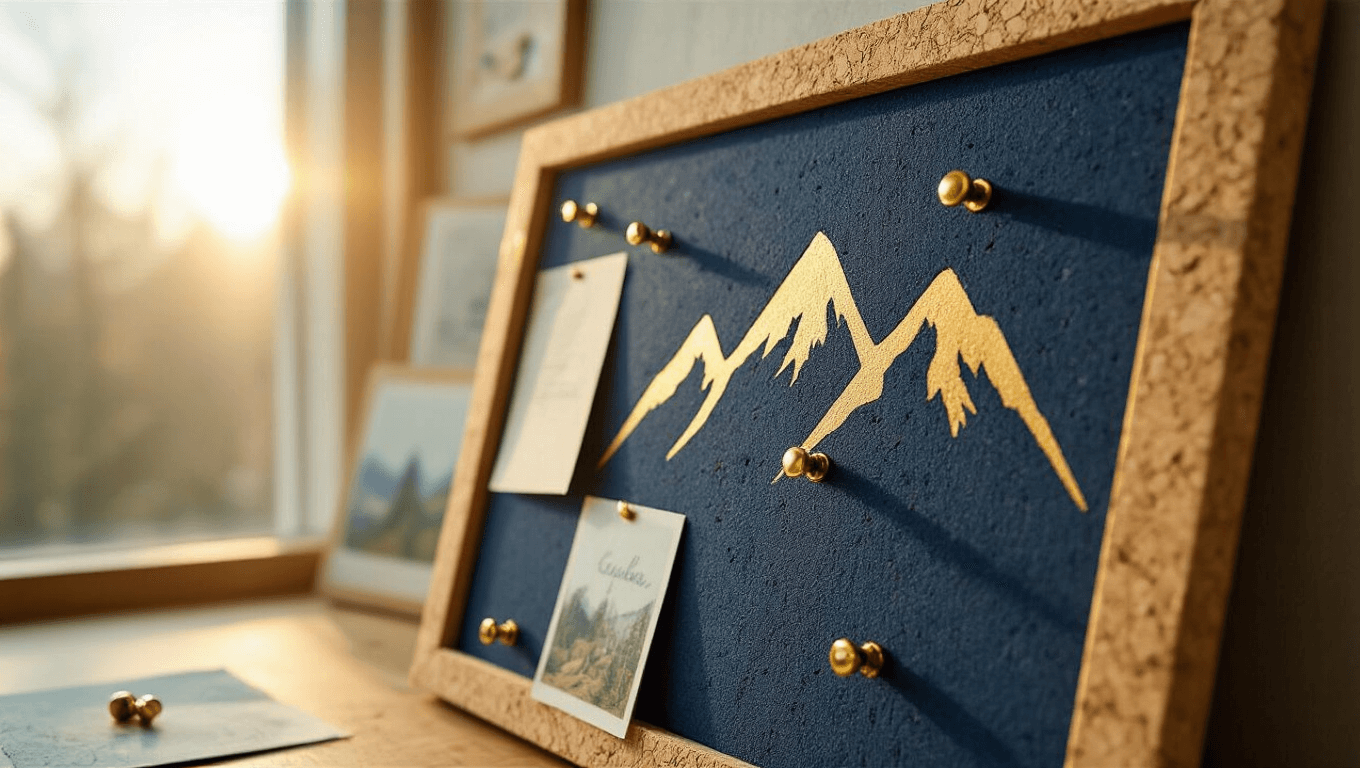
I painted one of mine navy blue with gold stenciled mountains across the bottom. It sits in my office, and I still love looking at it three years later.
The key is using acrylic craft paint specifically designed for porous surfaces. It soaks in just enough without drowning the cork texture.
Apply thin coats. Let each one dry completely. Don’t rush this part or you’ll end up with a sticky mess.

Cover It Completely
Fabric or decorative paper transforms cork into something unrecognizable.
I once covered a board with vintage map paper for my travel planning corner. Another time I used a bold geometric fabric that matched my bedroom pillows.
The process is straightforward:
- Cut your fabric or paper 2-3 inches larger than the board
- Apply spray adhesive in a well-ventilated area (seriously, go outside)
- Smooth from the center outward to avoid bubbles
- Fold the excess around the back and secure with staples
Mod Podge works too if you prefer brushing on your adhesive. Just know it takes longer to dry and can wrinkle paper if you’re not careful.
Paint Only the Frame
Sometimes the cork texture is the whole point.
I have a board where I painted just the wooden frame in a high-gloss coral. The natural cork stayed untouched. The contrast makes everything I pin to it pop.
This approach works beautifully when you’re pinning lots of colorful items. The neutral cork becomes a gallery wall for your life.
Tape off the cork carefully with painter’s tape. Use multiple thin coats of paint on the frame. Peel the tape while the final coat is still slightly tacky for the cleanest lines.

Frame It With Washi Tape
This is the fastest transformation method that exists.
I’m talking 15 minutes from start to finish.
Choose decorative washi tape in complementary patterns. Create a border around the entire cork board edge. Layer different patterns if you’re feeling adventurous.
The best part? You can change it whenever you want. Seasonal updates become ridiculously easy.
Themed Ideas That Actually Work in Real Life
Let me give you specific concepts I’ve seen succeed.
Mood Boards That Don’t Look Chaotic
A mood board should inspire you, not overwhelm you.
I keep one next to my desk with:
- Magazine clippings of interiors I love
- Color swatches for future projects
- Quotes that make me laugh
- A few photos from trips that remind me why I work so hard
The secret is editing ruthlessly. If something doesn’t spark joy or motivation, it doesn’t go up.
Pin items with intention, not randomly. Create loose clusters rather than covering every inch.

Divided Boards for Multiple Purposes
Visual separation prevents your brain from turning everything into noise.
I use gold metallic cord strung across the board in a grid pattern. Each section has a purpose:
- Top left: urgent work tasks
- Top right: personal goals for the month
- Bottom left: creative inspiration images
- Bottom right: receipts and paperwork I actually need to find
You could also use washi tape lines or even paint sections in different colors. The physical division makes it so much easier to find what you need.
Photo Display That Feels Personal
Polaroids or 4×6 prints create instant warmth.
I made one for my daughter’s room using:
- A fabric-covered cork board in her favorite color
- Twine zigzagged across with small nails
- Mini wooden clothespins to hang photos
- Space left deliberately empty for new memories
She changes the photos herself now. That’s when you know you’ve succeeded.

Wine Cork Construction for Texture Lovers
This one takes patience, but the result is stunning.
Collect wine corks over time. (Or ask your friends who drink more than you do.)
Glue them vertically to a backing board using strong adhesive. Fit them tightly together like a puzzle.
The three-dimensional texture catches light differently throughout the day. Plus,