How I Transformed My Boring Wall Into a Glittering Masterpiece (And Why You Should Too)
Glitter wall accents might sound like something straight out of a toddler’s art explosion, but trust me—when done right, they’re the secret weapon your home has been begging for.
I get it.
You’re staring at that sad, beige wall wondering how to add personality without remortgaging your house or calling in professional decorators who charge by the breath.
You want sparkle, but you don’t want your living room looking like a disco ball had a meltdown.
Been there, stressed about that, and came out the other side with walls that make guests stop mid-sentence and ask, “Wait, did you DO that yourself?”
Let me walk you through exactly how I made it happen—and how you can too, without losing your mind or your security deposit.
")
Why Glitter Walls Aren’t Just for Kids’ Bedrooms Anymore
Look, I was skeptical too.
The word “glitter” immediately conjured images of craft herpes (you know, that stuff that never truly leaves) and kindergarten art projects.
But modern glitter wall accents are a completely different beast.
We’re talking sophisticated, grown-up glamour that catches light like morning dew on champagne glasses.
Here’s what actually works:
- Accent walls behind beds or dining areas that create focal points without overwhelming the space
- Subtle ceiling applications that add dimension most people miss entirely
- Targeted borders that replace boring chair rails with actual personality
- Canvas art pieces when you’re renting and can’t touch the walls
The magic happens when you treat glitter as an accent, not the main event.
Think of it like salt in a recipe—the right amount transforms everything, too much ruins dinner.
")
The Real Cost (Spoiler: Your Wallet Will Survive)
I spent about $65 on my first glitter accent wall project.
Not the thousands I was quoted by decorators, not even the hundreds I’d feared.
Here’s the breakdown:
- Glitter wall paint: $35-45 per quart
- Base coat in complementary color: $15-20
- Quality brushes in various sizes: $10-15
- Painter’s tape for clean edges: $5
For canvas projects, you’re looking at even less—sometimes under $40 total.
The budget-friendly approach uses tacky glue mixed with loose glitter instead of pre-made glitter paint.
Honestly, both methods work beautifully, but the pre-made paint saves you from looking like you wrestled a unicorn.
")
Picking Your Glitter Color Without Regrets
This is where most people freeze up.
Gold? Silver? Rose gold? That weird holographic stuff that changes colors?
I learned this the hard way: Your base coat color matters more than you think.
Silver glitter over a gray base creates sophisticated, modern elegance.
Gold glitter over warm taupe or cream gives you luxury without the “trying too hard” vibe.
White or pale bases can actually wash out your glitter—the sparkle needs contrast to pop.
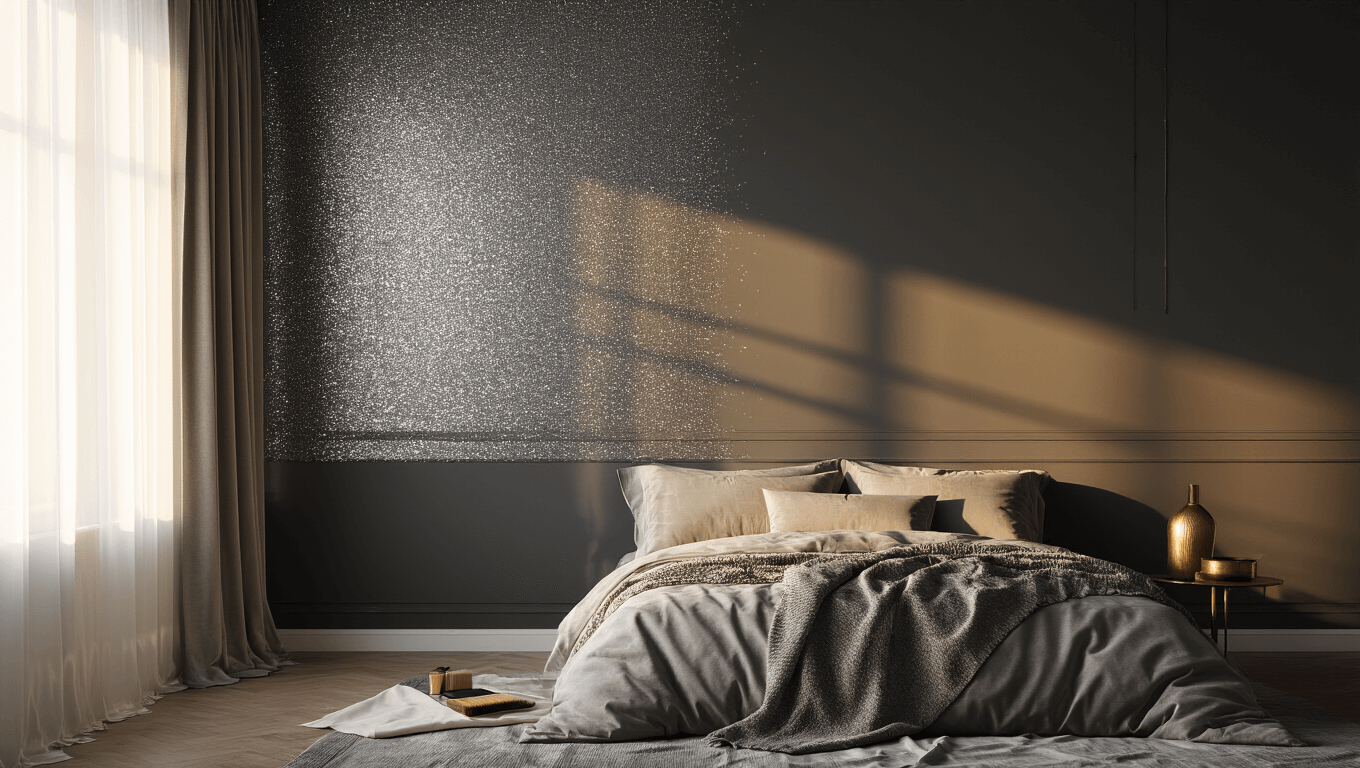
I went with silver over charcoal gray for my bedroom accent wall, and every morning when sunlight hits it, I feel like I’m waking up in a boutique hotel instead of my regular Tuesday life.
Pro colors that actually work:
- Silver + gray base: Modern, versatile, works year-round
- Gold + warm beige: Cozy luxury, perfect for living spaces
- White glitter + navy base: Unexpected sophistication
- Pastel glitter + matching soft base: Subtle glamour for nurseries or bedrooms
The key is matching your glitter to your base—not fighting against it.
")
The Tools You Actually Need (Not the Stuff Stores Try to Sell You)
I almost bought a $40 specialty glitter roller.
Thank goodness I didn’t, because a regular 4-inch paint brush worked perfectly.
What I actually used and recommend:
- One 4-inch brush for large coverage areas
- One 3-inch brush for edges and corners
- One 1-inch detail brush for cleanup
- Painter’s tape (the good stuff, not dollar store quality)
- Drop cloths because glitter is vengeful when spilled
- Container for mixing if you’re doing the DIY glue method
What I skipped and don’t miss:
- Specialty rollers (they don’t distribute glitter evenly anyway)
- Expensive primers when a quality base coat does the job
- Protective eyewear (unless you’re working overhead on ceilings)
If you’re going the canvas route for renters or commitment-phobes, grab a blank canvas and some Mod Podge.
Same glamour, zero landlord drama.
")
How I Actually Applied It (The Real Process, Mess and All)
Time to get honest about what this actually looks like.
Total time investment: About 6 hours spread across two days.
Don’t let that scare you—most of that is drying time while you binge your favorite show.
Day One: The Foundation
I cleaned my wall like my mother-in-law was coming for inspection.
Dust, grease, that mysterious smudge that’s been there since 2019—everything had to go.
Then I applied painter’s tape along the edges.
This step felt tedious but saved me hours of cleanup later.
Base coat went on next.
I used a crosshatch pattern instead of