Why Asuka’s Makeup Is Trickier Than You Think
Contents
Asuka Langley Soryu doesn’t wear a ton of makeup in the anime. But that’s exactly what makes cosplaying her face so hard. You’re not hiding behind heavy contouring or dramatic lashes. You’re trying to replicate that sharp, animated look with real-world products. Her eyes are intense. Her face has that defined, angular structure. And her whole vibe screams “don’t mess with me.” So yeah, you gotta nail the details or it just looks… off.

What You’ll Need Before You Start
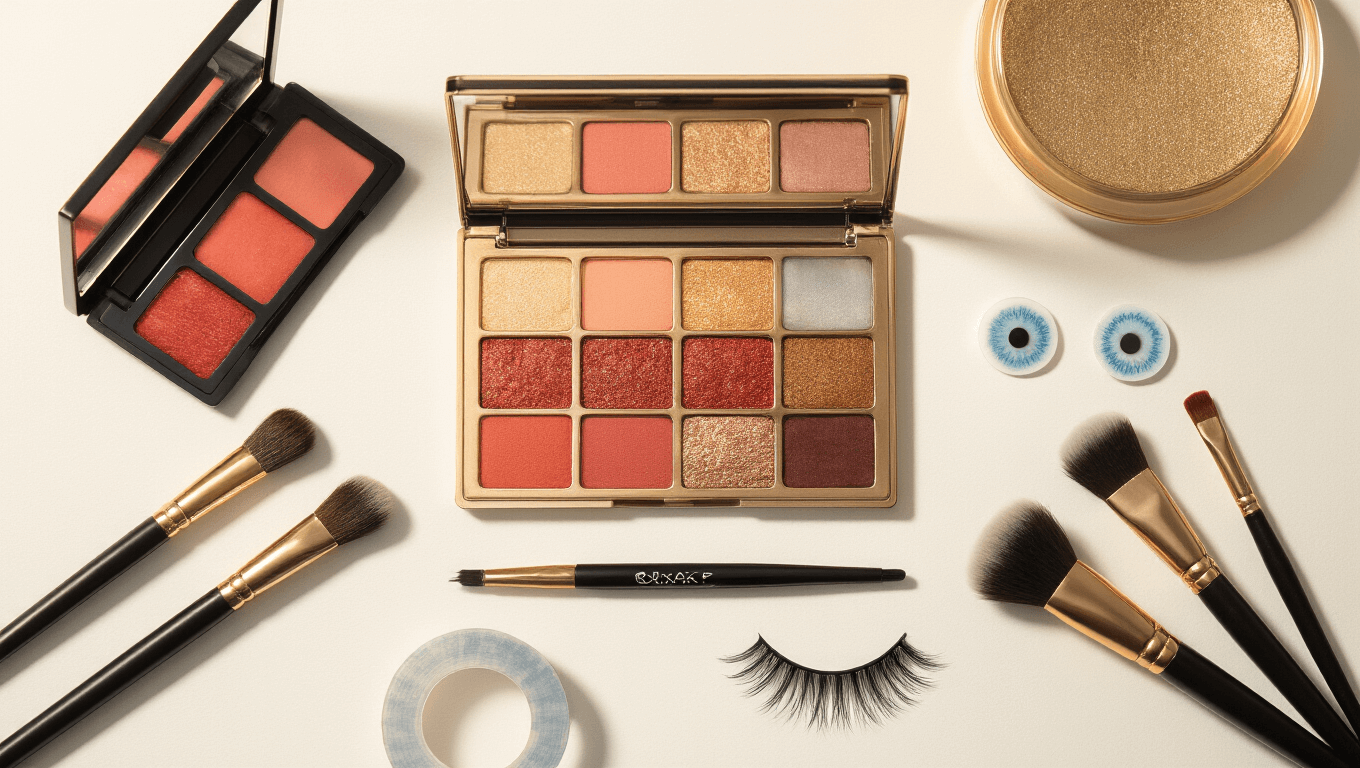
Before we dive in, let me save you a trip back to your makeup bag mid-look. Here’s what I keep on hand every time I do Asuka:
- Eye tape or eyelid glue (this is non-negotiable)
- Reddish-brown eyeshadow palette for brows and warmth
- Black eyeshadow (matte, not shimmery)
- False lashes that are defined but not too thick
- Blue contact lenses (her eye color is iconic)
- Foundation that matches your skin tone
- Contour powder or stick in a cool-toned shade
- Soft pink or dusty rose blush
- Berry-toned or pinky-nude lipstick
- Setting powder and spray
Trust me, having everything ready makes the whole process way less stressful.

Step 1: Prep Your Base (And Hide Those Brows)
Okay, so this part isn’t glamorous, but it matters. If your natural brows are dark or thick, you’re gonna want to flatten them first. I use a glue stick — yeah, the kind kids use in school. Brush your brows upward, apply the glue, let it dry, then repeat like two or three times. Once it’s dry and flat, seal it with translucent powder. Then go in with concealer that matches your skin tone and cover them completely.
If your brows are lighter or thinner, you can skip the glue and just use concealer. Now apply your foundation. I like using a damp beauty sponge because it keeps things light and natural-looking. Asuka doesn’t have cakey skin, so don’t go overboard. Build coverage only where you need it — like around the nose, under the eyes, or anywhere with redness. Set everything with a light dusting of powder. This gives you a smooth canvas and keeps your makeup from sliding around all day.

Step 2: Contour Like an Anime Character
This is where things start to look more like Asuka and less like you. **Anime faces are sharp**. So you’re gonna contour more than you would for everyday makeup, but in a really specific way.
Start with your nose. Use a thin brush and a cool-toned contour shade to draw a line down both sides of your nose. Make it straighter and slimmer than your natural nose shape. Then contour the tip of your nose to make it look more pointed. Blend it out, but don’t blend it so much that it disappears. You want that definition.
Next, contour your cheekbones. Draw a line from the top of your ear toward the corner of your mouth, right under your cheekbone. Blend upward. This creates that angular, defined face shape Asuka has. Lastly, contour your jawline lightly if you want even more sharpness. Don’t forget to blend everything really well — harsh lines look good in photos but weird in person.

Step 3: The Eyes Are Everything
Alright, here’s where most people mess up. Asuka’s eyes are sharp, lifted, and intense. If you skip the eye tape, you’re missing the whole vibe. Apply eye tape to your eyelids to create that lifted, open-eye look. If you’ve never used it before, practice a few times. It takes a minute to get the placement right, but once you do, it’s a game-changer.
Now let’s talk eyeshadow. Take a reddish-brown or coral-toned shadow and fill in your brows. Yes, really. Her brows match her hair, and using a red-toned product instead of regular brown makes a huge difference. Keep them sharp and slightly arched.
For your lids, start with a light base color all over. Then take black eyeshadow and apply it to the outer corners of your eyes in a triangle shape. Blend it inward, but keep most of the color on the outer edge. This adds depth and mimics that sharp outer corner anime characters have.
Line your upper lash line with black eyeliner, keeping it close to the lashes. Don’t wing it out too much — just a tiny flick if anything. Then take black shadow and line your lower outer lash line. This lifts the eye even more.
Now for lashes. I use natural false lashes that are defined but not super thick. You want them to add definition without covering up all the eyeshadow work you just did. Apply mascara to your natural lashes first, then add the falsies. Boom. Sharp, intense, very Asuka.

Step 4: Add Color Back to Your Face
At this point, you might look a little… flat. That’s normal. Time to add some life back. Use a soft dusty pink or rose blush on the apples of your cheeks. Smile, find where your cheeks naturally puff up, and apply it there. Blend it upward toward your temples. Don’t go too heavy — Asuka’s not blushing like a shy schoolgirl. Just a hint of color.
If you want to add freckles (some people do this to make the look feel more youthful or playful), now’s the time. Use a fine brush or even a bobby pin dipped in dark concealer. Tap little dots across your nose and cheeks, then gently pat them with your finger to blend. It’s optional, but I think it adds a nice touch.
