Brightly lit cosplay workspace from above, featuring a white desk with colorful anime wigs, craft supplies, and a sewing machine, arranged artistically to showcase organization and creativity.

The Ultimate Guide to Anime Cosplay: From Beginner to Pro

Hey there, fellow anime enthusiasts!

As someone who’s spent countless hours transforming into everything from magical girls to demon slayers, I’m here to share my complete guide to anime cosplay. Let’s dive into this colorful world together!

A bright, airy cosplay workspace with tall windows illuminating a white desk adorned with vibrant anime wigs on styrofoam heads, neatly arranged wig combs, styling products, foam sheets, and a professional sewing machine, all set against soft afternoon sunlight creating gentle shadows and highlighting fabric textures.

✨ Pro Tip: Create a dedicated cosplay prep station with bright, color-accurate lighting and a large mirror to practice character transformations and perfect makeup applications before photo shoots or events.
⛔ Avoid This: Avoid dim or warm-toned lighting in your cosplay workspace—it distorts makeup colors and costume details, making it harder to match reference images and achieve screen-accurate looks.

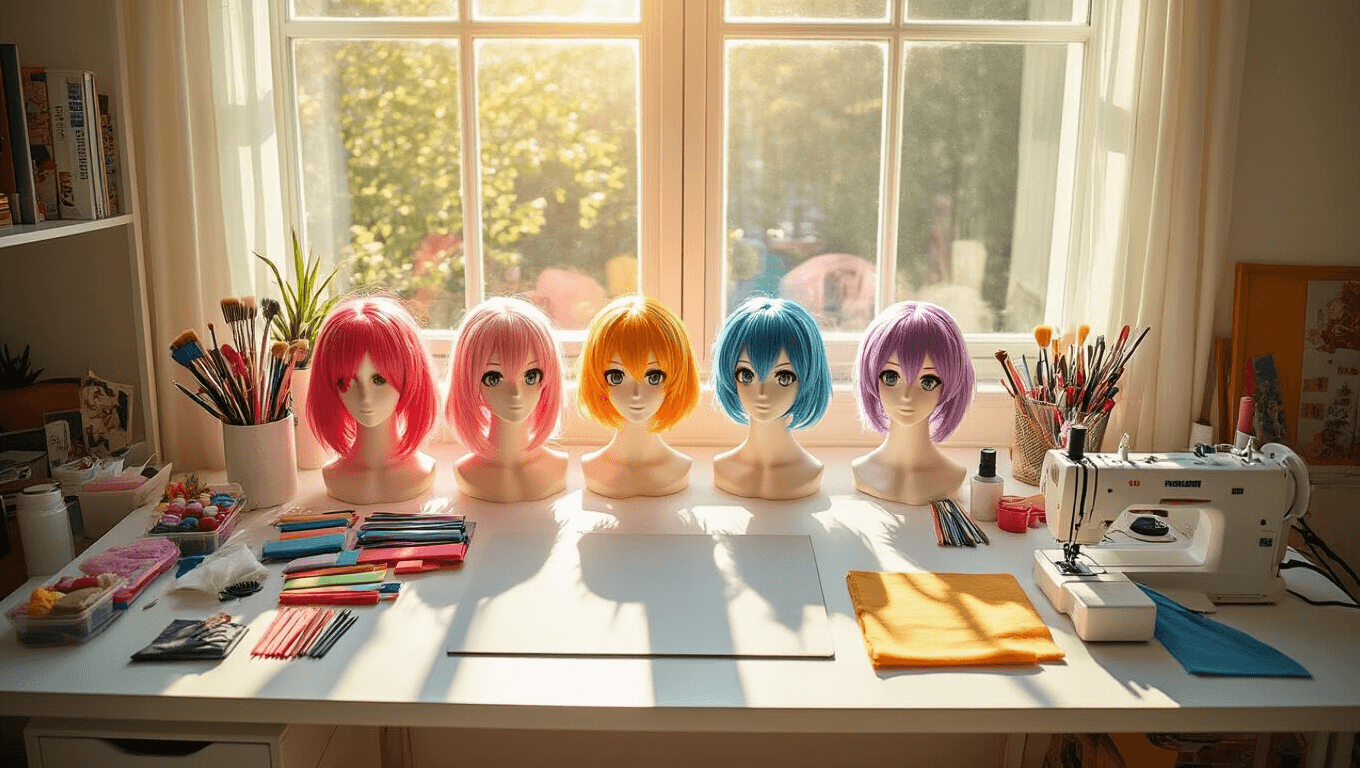
Your cosplay room is your creative sanctuary where passion meets precision. Whether you’re stitching armor or perfecting character makeup, this space should energize and inspire the detailed work anime characters demand.

Getting Started: The Basics You Need

First things first – you’ll need some essential supplies. Here’s what I always keep in my cosplay arsenal:

A cozy DIY cosplay station in a bedroom corner, illuminated by string lights, featuring a rustic wooden table with pre-made costume pieces, craft supplies, and beginner makeup palettes, along with a mirror reflecting warm light and character reference photos.

🔎 Pro Tip: Organize your cosplay supplies in clear, labeled storage containers near your work table so you can grab what you need mid-project without wasting creative momentum.
⛔ Avoid This: Avoid storing wigs loose in drawers or bags where they’ll tangle and lose their shape—invest in proper wig storage or display stands to keep them costume-ready.

Your cosplay workspace should feel like a creative hub where every tool is within arm’s reach. This is where anime characters come to life, so make it inspiring and functional.

Budget Breakdown: Real Talk About Costs

Listen, I won’t sugar-coat it – cosplay can get expensive. But here’s how I break it down:

Beginner Level (Pre-made costume route):

  • Basic costume: $40-100
  • Wig: $20-40
  • Basic makeup: $30
  • Simple accessories: $20-50

Advanced Level (DIY route):

  • Materials: $100-300
  • Tools: $50-150
  • Accessories: $50-200
  • Wig and styling: $40-100

Modern home studio filled with sunlight, featuring a large whiteboard calendar with project milestones, pinned fabric swatches, and in-progress costume pieces, all emphasizing an organized and methodical costume timeline planning setup.

⚡ Pro Tip: Track your cosplay budget by category (costume, wig, makeup, accessories) and buy materials incrementally—this spreads costs over time and lets you upgrade tools as your skills improve rather than buying everything upfront.
🛑 Avoid This: Avoid buying the cheapest materials hoping to upgrade later; poor-quality fabrics, wigs, and tools often require complete replacement, doubling your actual spending. Invest in mid-tier essentials first.

Cosplay budgeting is about smart priorities—beginners can create impressive characters with pre-made costumes and strategic accessory choices, while DIY crafters invest in quality tools that work across multiple builds. Your first costume doesn’t need to be perfect; it’s your foundation.

Time Management: Making It Work

Here’s something I learned the hard way – start way earlier than you think you need to! I usually plan:

  • 2-3 months for complex builds
  • 2-3 weeks for simpler costumes
  • 1 week minimum for wig styling
  • Several practice runs for makeup

Professional photography studio featuring a cosplayer in anime character makeup, with soft box lighting, reflectors, and backdrop options visible. A smartphone on a tripod captures the scene from the photographer's perspective.

🌟 Pro Tip: Set up a dedicated cosplay anime workspace with clear zones for costume construction, makeup practice, and photography—this prevents last-minute scrambling and ensures you have proper lighting for detailed work at least 1-2 months before your event.
⚠ Avoid This: Avoid relegating your cosplay prep to a bedroom corner or shared kitchen table; without dedicated counter space, proper task lighting, and organized storage for materials, you’ll waste hours searching for supplies and won’t have room for practice runs.

Serious cosplayers know that time management isn’t just about starting early—it’s about having the right environment where you can work efficiently on intricate builds, test makeup under event-quality lighting, and store your evolving pieces safely between practice sessions.

Photography Tips and Tricks

Your cosplay deserves great photos! I’ve found these tips super helpful:

  1. Natural lighting is your best friend
  2. Find locations that match your character’s world
  3. Practice poses beforehand
  4. Take lots of detail shots

Intimate dressing room scene showcasing a split-screen comparison of cosplay techniques: one side illustrates common mistakes in wig application, makeup swatches, and costume fitting, while the other side shows correct methods. The setup includes makeup brushes, wig caps, and costume test pieces with close-up details highlighting learning points.

💡 Pro Tip: Scout locations during golden hour (early morning or late afternoon) to capture naturally flattering, warm light that makes anime cosplay details pop—no harsh shadows or blown-out backgrounds. Bring a simple white reflector to bounce light onto your character’s face and costume details.
❌ Avoid This: Avoid shooting in direct midday sun, which creates unflattering shadows across the face and washes out costume colors. Don’t rely solely on camera flash indoors, as it flattens details and kills the atmospheric mood anime cosplay photography demands.

Cosplay photography is about telling your character’s story—the right lighting transforms a great costume into an unforgettable image that captures why you love that character. Taking time to plan shots and locations shows respect for both your craftsmanship and the character you’re portraying.

Common Rookie Mistakes (That I’ve Totally Made)

  • Waiting till the last minute (guilty!)
  • Skipping wig caps (bad idea)
  • Forgetting to test makeup
  • Not breaking in shoes before conventions

The truth is, cosplay is a journey, and we all start somewhere. Whether you’re diving into My Hero Academia or tackling a complex Demon Slayer build, remember that every cosplayer was once a beginner.

A bustling convention center hallway bathed in natural light, showcasing cosplayers assisting each other with last-minute costume adjustments, including comfortable shoes being broken in, wig securing, and makeup touch-ups, highlighting a spirit of community support.

🚀 Pro Tip: Test all costume components at home before convention day—wear your shoes for several hours, apply makeup under different lighting, and practice wig styling to identify issues you can actually fix.
🚫 Avoid This: Avoid waiting until the week before to assemble your cosplay or test costume pieces; unexpected issues with fit, wig styling, or makeup application will stress you out and may not be fixable in time.

Every cosplayer has rushed a costume or discovered their wig cap was uncomfortable mid-convention. These rookie mistakes aren’t failures—they’re the learning moments that transform you from enthusiast to confident cosplay builder.

Final Tips for Success

  1. Join online communities for support
  2. Document your progress
  3. Don’t compare yourself to others
  4. Have fun with it!

Remember, the best cosplay is the one that makes you happy, whether it’s store-bought or handmade. Now get out there and bring your favorite character to life!

A sunset-lit home studio showcasing a completed cosplay journey documentation, with multiple progress photos on a mood board, a final costume on a mannequin, surrounded by material samples and celebration confetti, captured from above.

⚡ Pro Tip: Create a dedicated cosplay display area in your room with adjustable shelving and LED strip lighting to showcase your finished costumes and build momentum for your next project.
🛑 Avoid This: Avoid cluttering your workspace with finished costumes—designate a proper costume storage closet or display wall so you have room to work on new builds without constantly moving pieces around.

The best cosplay spaces celebrate your love of anime and characters in a way that inspires you daily. Whether your room is anime-themed or subtly inspired, your costume corner should feel like a creative sanctuary that makes you excited to keep building.

Leave a Reply

Your email address will not be published. Required fields are marked *