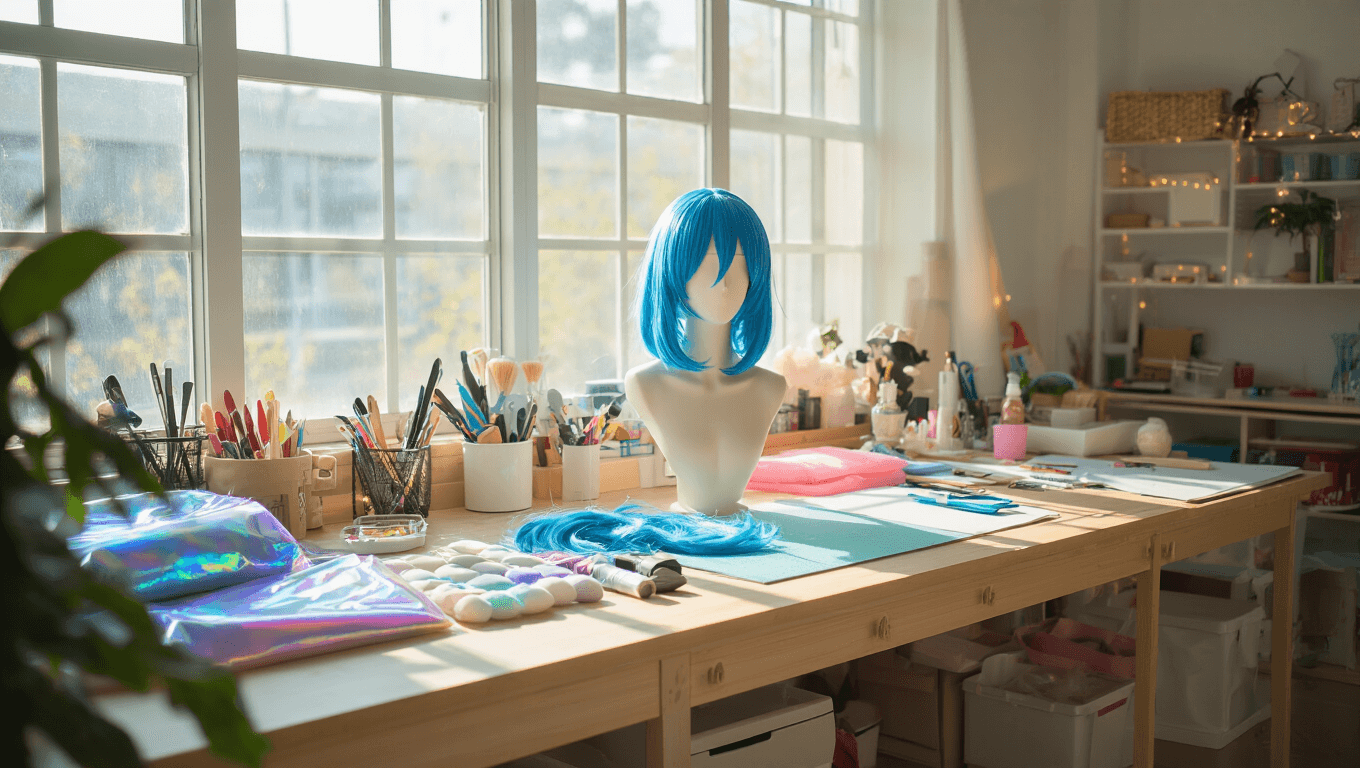
Hey there, fellow cosplay enthusiasts!
Contents
I’ve spent years perfecting the art of bringing fictional characters to life, and today I’m spilling all my secrets about creating those jaw-dropping “dress to impress” cosplay looks.
The Basics: What You’ll Need
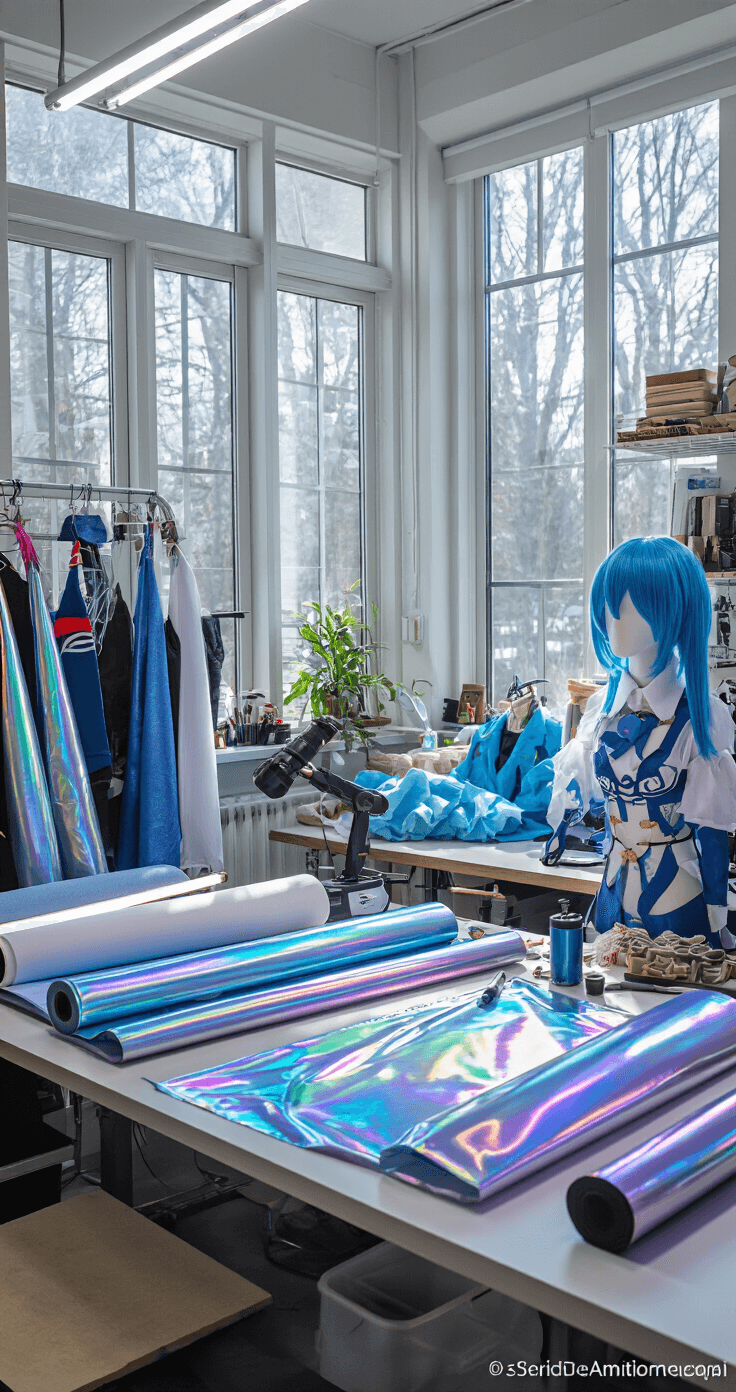
Before we dive in, let’s get your cosplay toolkit ready:
- Professional Cosplay Wig
- Basic sewing kit
- Foam Clay for Props
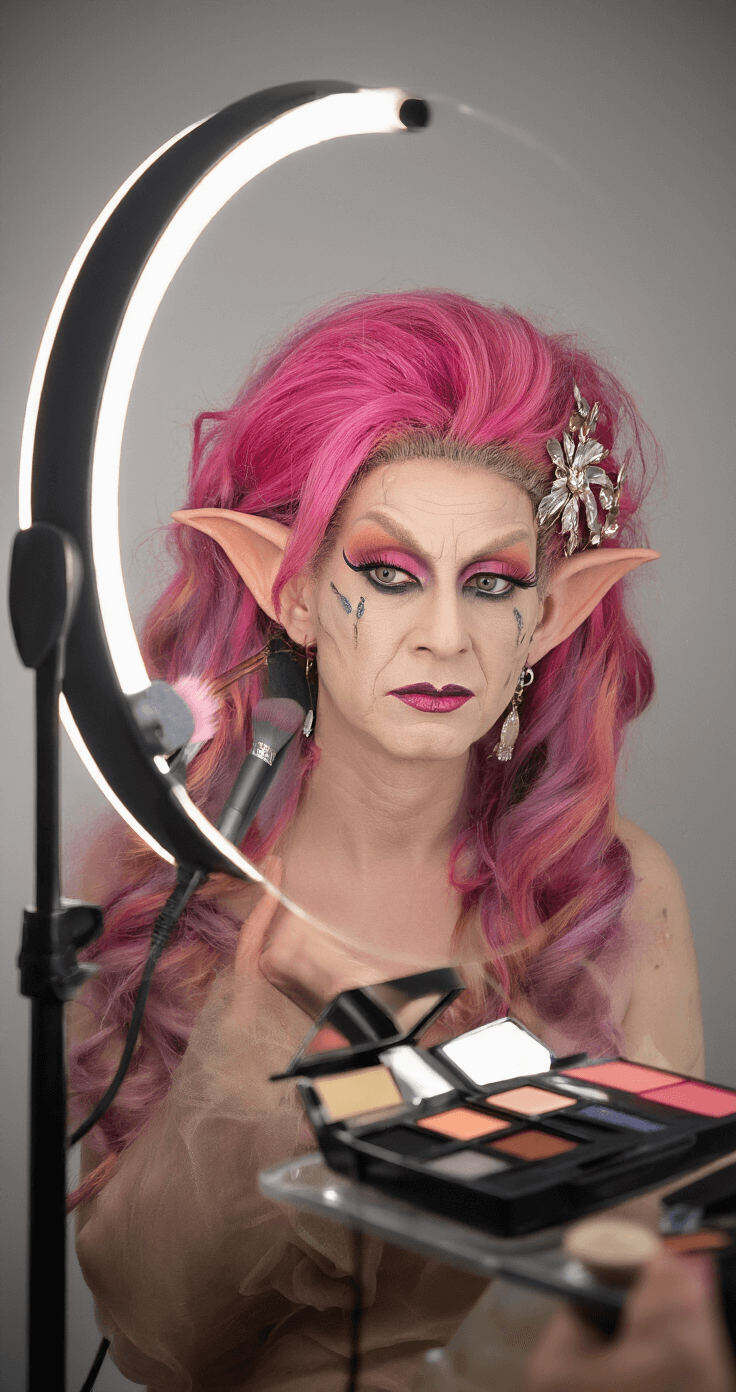
- Makeup essentials
- Reference photos
Getting Started: The Planning Phase
Listen, I learned this the hard way – rushing into a complex build without proper planning is a recipe for disaster. Trust me, I’ve been there!
First things first:
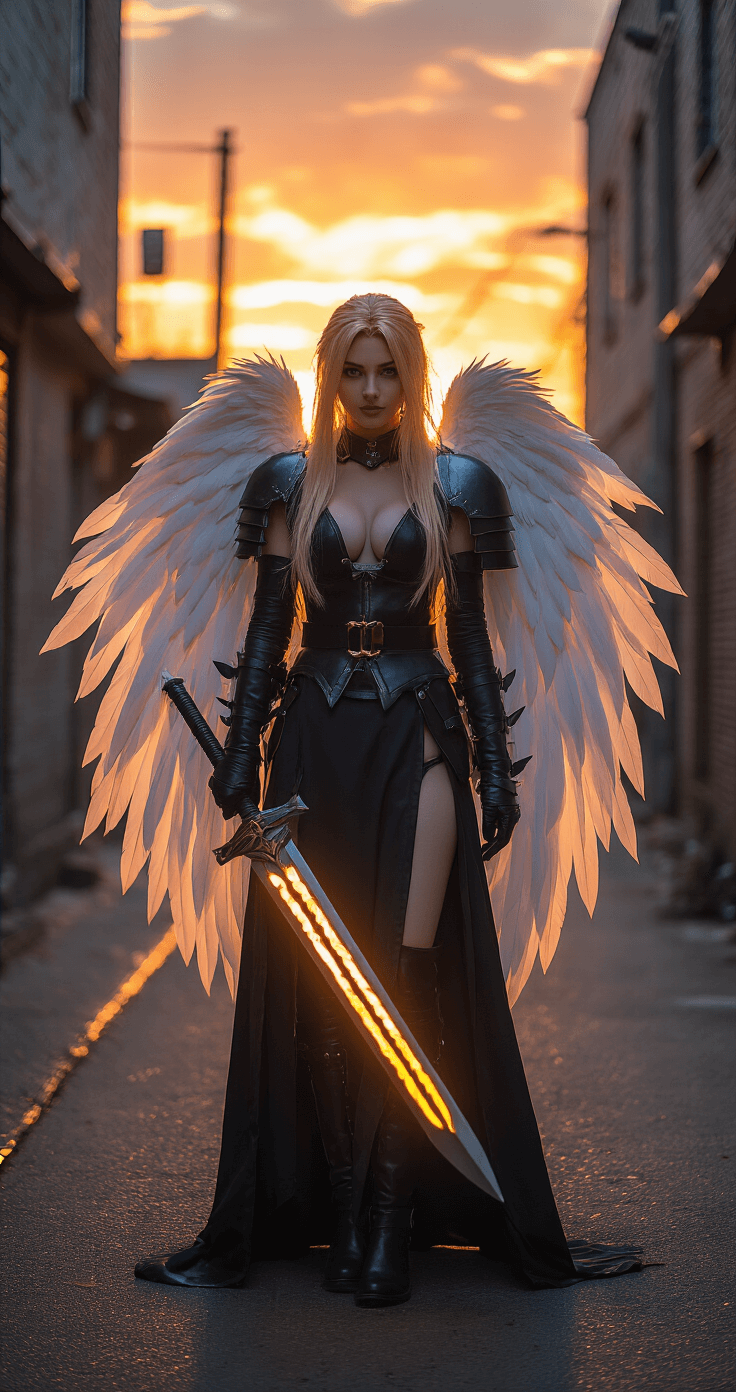
- Choose your character wisely. Pick someone that matches your skill level and budget. My first attempt at making Sephiroth’s wing was… well, let’s just say it looked more like a broken umbrella.
Budget Breakdown:
- Basic looks: $30-100
- Intermediate builds: $100-250
- Advanced costumes: $250-400+
Pro Tip: Start with the most iconic pieces of your character’s look. For me, that usually means investing in a quality LED Light Kit for weapon props or special effects.
The Construction Phase
Here’s where things get real interesting. Whether you’re working with store-bought pieces or crafting from scratch, attention to detail is everything.
Key Focus Areas:
- Fabric selection
- Proper fitting
- Prop construction
- Makeup testing
- Wig styling
I always recommend getting a Heat-resistant Styling Tool for working with wigs – it’s a game-changer!

Photography and Presentation
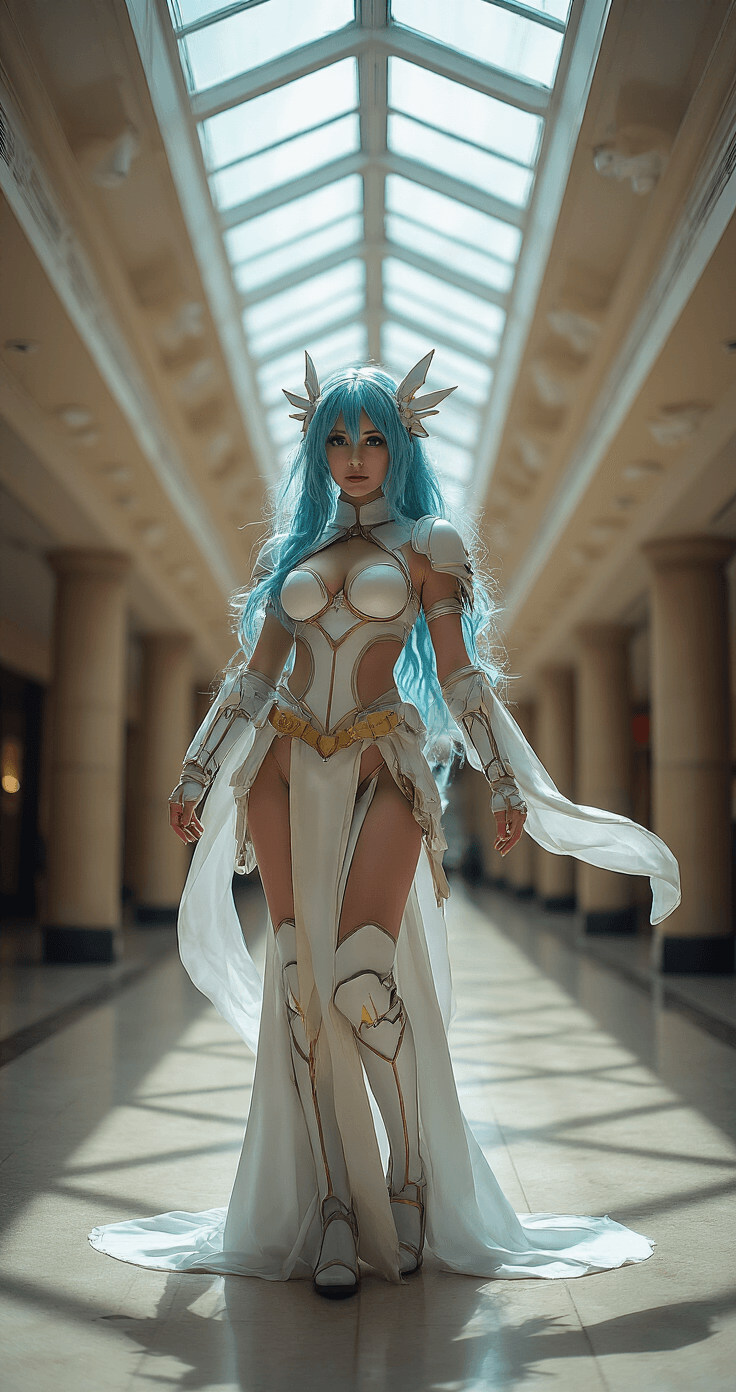
Your amazing costume deserves equally amazing photos. Here’s what works best:
- Find good lighting (natural light is your friend)
- Practice character poses
- Choose appropriate backgrounds
- Get multiple angles

Common Mistakes to Avoid:
- Rushing the final details
- Skipping proper wig styling
- Forgetting to test mobility
- Not doing makeup trials
Remember, cosplay is about having fun while bringing your favorite characters to life. Don’t get too caught up in perfection – every costume is a learning experience.
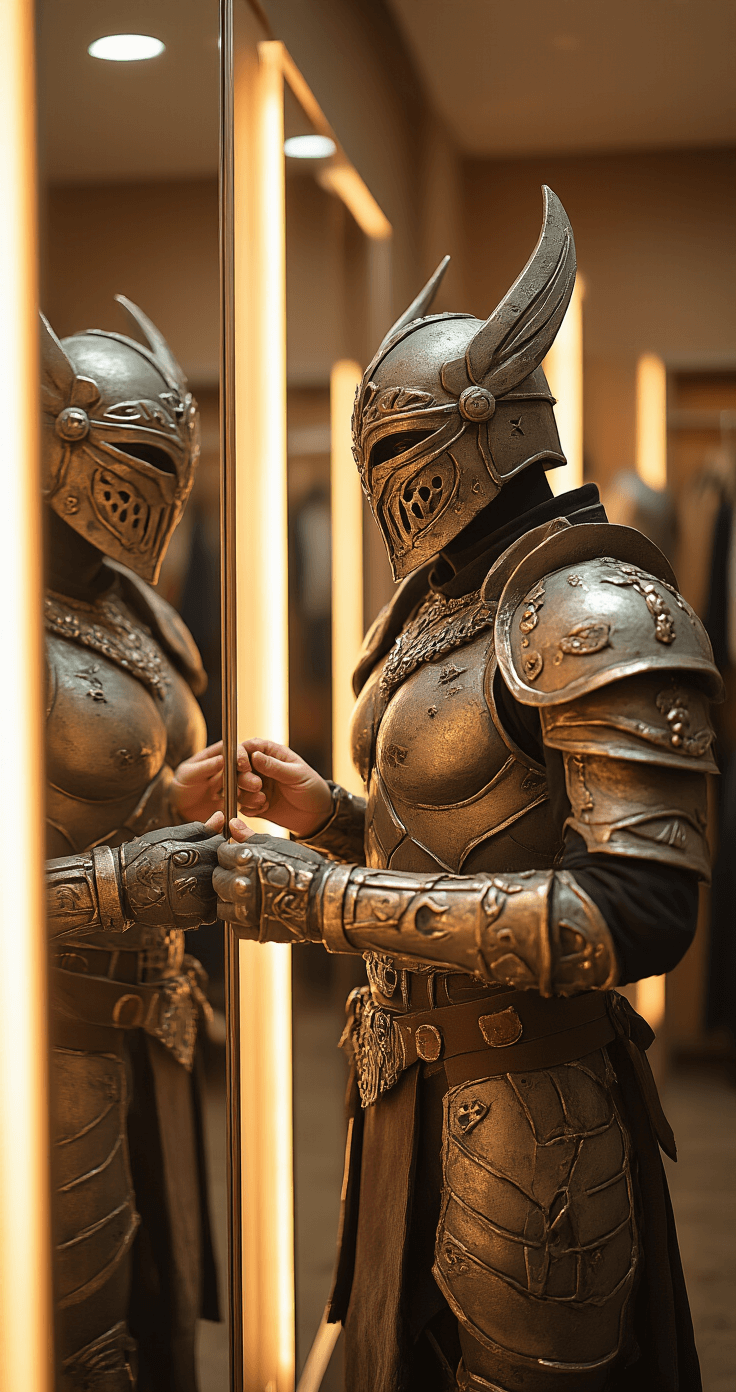
I still laugh about the time I wore a full armor build without testing if I could sit down. Spoiler alert: I couldn’t!
Stay creative, keep learning, and most importantly, enjoy the process. Your cosplay journey is unique to you, and that’s what makes it special.
Got questions about specific techniques or need more detailed advice? Drop them in the comments below – I’m always happy to help fellow cosplayers level up their game!

