Cosplay Lip Makeup: Real Techniques That Actually Transform Your Character Look
Contents
- Cosplay Lip Makeup: Real Techniques That Actually Transform Your Character Look
- Why Your Lips Matter More Than You Think in Cosplay
- Getting Your Lips Ready (The Boring But Essential Stuff)
- Reshaping Your Lips to Match Your Character
- Color Application That Looks Professional
- Setting Everything So It Actually Lasts
Cosplay lip makeup is one of those things that can totally make or break your character transformation. I used to think lips were just an afterthought, like something you slap color on at the last minute before heading out the door. But honestly? They’re one of the most expressive parts of your face, and getting them right can pull your entire cosplay together in a way that feels almost magical. The thing is, most people don’t realize how much work goes into creating those perfect character lips you see at conventions. It’s not just about picking a lipstick shade and calling it a day.

Why Your Lips Matter More Than You Think in Cosplay
Let me be real with you for a second. Your lips take up a surprising amount of visual space on your face, especially in photos. When I first started cosplaying, I’d spend hours on my eye makeup and wig styling, then just throw on whatever lipstick I had laying around. And you know what? My cosplays always felt… incomplete somehow. It wasn’t until I started actually studying character lip shapes and learning proper techniques that things clicked.
Anime characters often have smaller, more defined lips than what we naturally have. Video game characters might have fuller, more exaggerated shapes. Comic book heroes sometimes need sharp, almost geometric lip lines. If you’re not adjusting your natural lip shape to match, you’re missing a huge piece of the transformation puzzle.
Getting Your Lips Ready (The Boring But Essential Stuff)
Okay so before we get into the fun transformative stuff, we gotta talk prep. I know, I know. It’s not the exciting part. But trust me on this—if you skip this step, your lip makeup is gonna crack, fade, or just look crusty by hour two of the con.

Start with exfoliation. I usually just use a sugar lip scrub or honestly, sometimes I just gently rub a soft toothbrush over my lips in circles. Gets rid of all those dead skin flakes that make lipstick look patchy. Do this the night before if you can, or at least 30 minutes before you start your makeup.
Then, lip balm. Apply a thin layer and let it sink in while you do the rest of your base makeup. I like the ones that aren’t super greasy because too much slip can make your lip products slide around.
Here’s where it gets interesting: concealer. This step confused me at first, but it’s actually genius. You need to cancel out your natural lip color to create a blank canvas. Use a full coverage concealer that matches your foundation and pat it all over your lips. This lets you create any color or shape you want without your natural pigment showing through. Set it lightly with translucent powder.
Reshaping Your Lips to Match Your Character
This is where the real transformation happens. And honestly, this technique alone changed everything for me. Most characters don’t have the exact same lip shape as you do naturally, right? So you gotta learn how to fake it.

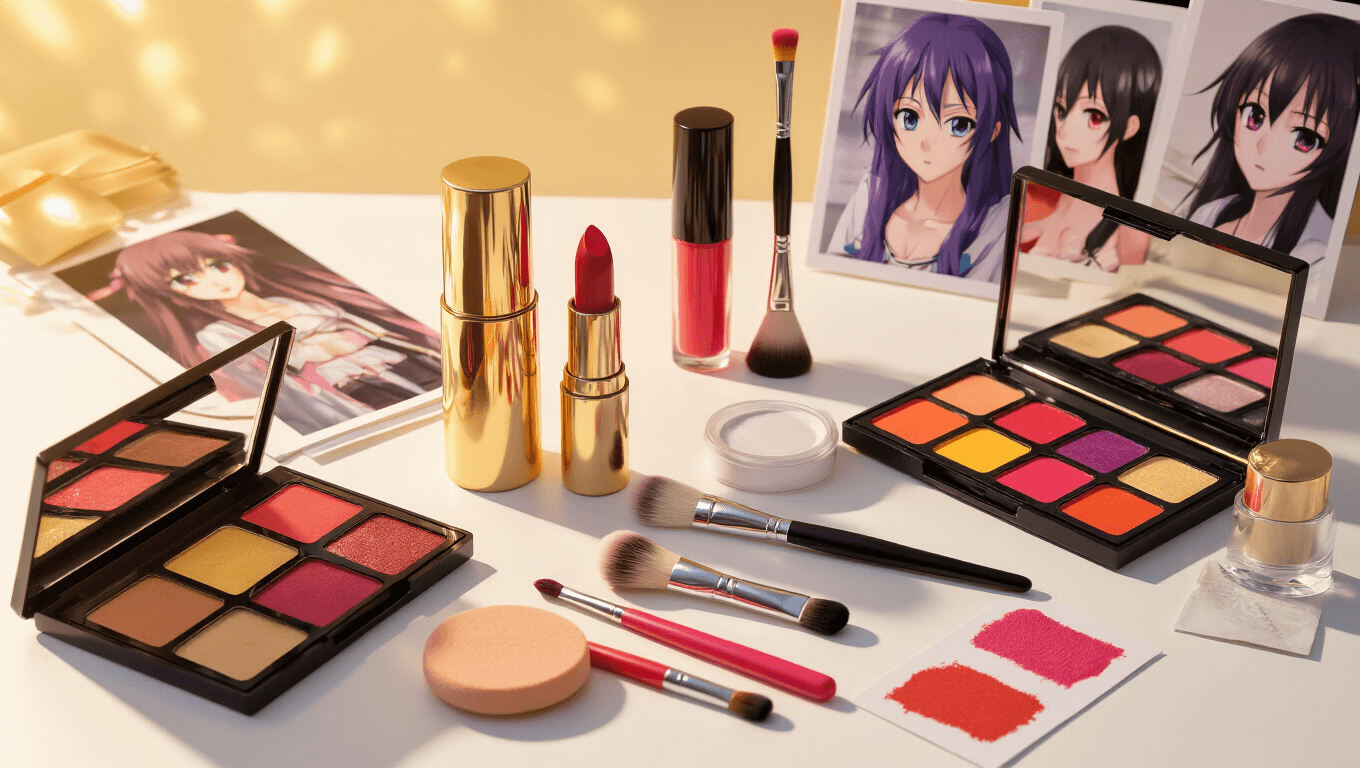
Mapping out your new shape: Grab a thin brush and either a brown concealer or a lip liner that’s slightly darker than your skin tone. Look at reference photos of your character and really study their lip shape. Are their lips fuller? Thinner? More angular? Softer? Start by lightly sketching out where you want your new lip line to be.
Making lips look bigger: If your character has fuller lips than you do, line slightly outside your natural lip line. Don’t go crazy with this or it’ll look obvious and weird. Just a millimeter or two makes a difference. Shade the inner corners of both your top and bottom lips with a lighter color—this creates dimension and makes them look plumper. Leave the center of your bottom lip highlighted.
Creating thinner or more masculine lips: This one’s tricky but super useful for certain characters. Round off the edges of your lips instead of creating sharp corners. Drag your lip line slightly downward following your natural lip contour, but make it less pronounced. Avoid overlining at all costs here—you actually want to draw inside your natural lip line in most areas.
The M-shape technique: For anime-style lips especially, create a defined M-shape along your upper lip line. Leave the middle part slightly unshaded or lighter. This adds that cartoon-like dimension that photographs really well.
Color Application That Looks Professional
Alright, you’ve got your shape down. Now comes the color, which is honestly the most satisfying part.

Start with your outline. Fill in the lip shape you created with a neutral or nude-toned lipstick first. This gives you a base to work with and makes blending easier. I usually use a matte liquid lipstick for this because it stays put better than cream formulas.
Layer your actual character color. Now apply your main lip color, but here’s the trick: don’t just slap it on evenly. Apply more saturated color to the center and blend it outward. This creates a gradient effect that looks way more dimensional in photos. Flat, single-color lips can look kinda dead in pictures, especially with harsh convention lighting.
Add depth with eyeshadow. Yeah, you read that right. Take a brown or darker powder eyeshadow and dust it over your liner work. This diffuses everything and makes it look more natural and less like you drew on your face with a marker. It’s especially good for creating shadows under your bottom lip.
The 3-D effect: For the final layer, dab a slightly lighter shade (or even a bit of highlighter mixed with gloss) in the very center of your lips. Just the center of your bottom lip and the cupid’s bow area. This catches light and makes your lips look fuller and more alive.
Setting Everything So It Actually Lasts
Here’s the thing nobody tells you: lip makeup is high-maintenance. It rubs off when you drink, eat, talk, breathe… basically everything. But there are ways to make it last longer.

The tissue trick: Press a tissue gently against your lips—don’t rub, just press. Then dust translucent setting powder through the tissue onto your lips. This sets everything without creating that cakey, powdery look.
Strategic gloss placement: If your character has any shine to their lips, apply gloss super sparingly. Only on the areas you highlighted before. Too much gloss and you’ll be reapplying every 20 minutes.