Cosplay Room Inspiration Boards: Your Complete Guide to Creative Organization
Contents

Cosplay room inspiration boards changed everything for me when I finally stopped losing reference photos in the chaos of my browser tabs.
I’m talking about those 2 AM moments when you’re mid-construction and desperately need that one close-up of armor plating you swore you saved somewhere.
What Makes Inspiration Boards Essential
Look, I’ve been there—starting ambitious cosplay projects with nothing but enthusiasm and a phone full of screenshots.
It’s a disaster waiting to happen.
An inspiration board is your visual command center, keeping every reference image, fabric swatch, and construction note in one accessible place.
Physical boards live right at your workspace using cork bulletin boards or foam core.
Digital boards exist on platforms like Pinterest, Canva, or even simple photo folders.
The best part? You’ll actually finish projects instead of abandoning them halfway through because you lost track of your vision.
Why Your Cosplay Desperately Needs This
You’ll Stop Wasting Time
I used to spend 20 minutes hunting for that perfect reference image I’d seen three weeks ago.
Never again.
Everything lives in one spot—costume details, makeup tutorials, wig styling references, prop blueprints.
Your Accuracy Skyrockets
When you can see multiple angles of your character simultaneously, you catch details others miss.
That decorative trim on the back of the jacket? Captured.
The exact shade of leather weathering? Right there in your swatches.
Motivation Stays Strong
Projects lose steam when you can’t visualize the end result.
Your inspiration board becomes a visual pep talk every time doubt creeps in.
Building Your Perfect Board
Start With These Essentials
- Character references from every angle (front, back, sides, close-ups of details)
- Hair and makeup tutorials specific to your character
- Fabric swatches pinned or photographed with notes
- Color palettes including exact paint codes
- Construction technique screenshots from tutorials
- Pose references for your photoshoot
- Lighting examples from the source material

Pick Your Format Smart
I’ve tried both, and here’s my honest take:
Physical Boards Win When:
- You work in one dedicated space
- You’re hands-on and like touching materials
- You want swatches and samples physically present
- Your workspace has wall space
Grab push pins and a large foam board to get started immediately.
Digital Boards Win When:
- You craft in multiple locations
- You want to share progress online
- You need unlimited space for references
- You’re already screen-focused
The Assembly Process That Actually Works
Step One: Information Overload (The Good Kind)
Spend an entire evening collecting everything.
Screenshots from the anime, manga panels, official artwork, other cosplayers’ interpretations, behind-the-scenes costume design notes.
Don’t edit yourself yet—gather first, curate later.

Step Two: Ruthless Organization
Group your materials into clear categories:
- Main costume pieces (jacket, pants, boots, etc.)
- Armor and props (each major piece gets its own section)
- Wigs and hair accessories
- Makeup and face details
- Small accessories (jewelry, belts, badges)
I use colored index cards to label each section on physical boards.
Step Three: The Reality Check Layer
Add notes about what you can actually achieve.
“Professional leather tooling” might become “faux leather with painted details.”
Write these adaptations directly on your board so you’re working toward your real plan, not an impossible fantasy.
Step Four: Construction Notes
This separates amateurs from people who actually finish projects.
Add sticky notes with:
- Materials needed
- Techniques to research
- Timeline estimates
- Budget allocations
Digital Board Pro Moves
Canva became my secret weapon after years of messy Pinterest boards.
Create separate pages within one project—one for costume, one for props, one for makeup, one for the photoshoot.
My Canva Workflow:
- Upload all reference images first.
- Create a grid layout with main references large and centered.
- Add smaller detail shots around the edges.
- Use text boxes for material lists and construction notes.
- Link related Pinterest boards or tutorial URLs in the description.

Pinterest Strategy:
- Create a private board for each cosplay project.
- Make sections within that board: “Main References,” “Tutorials,” “Materials,” “Pose Inspiration.”
- Use the “tried it” feature to mark tutorials you’ve actually tested.
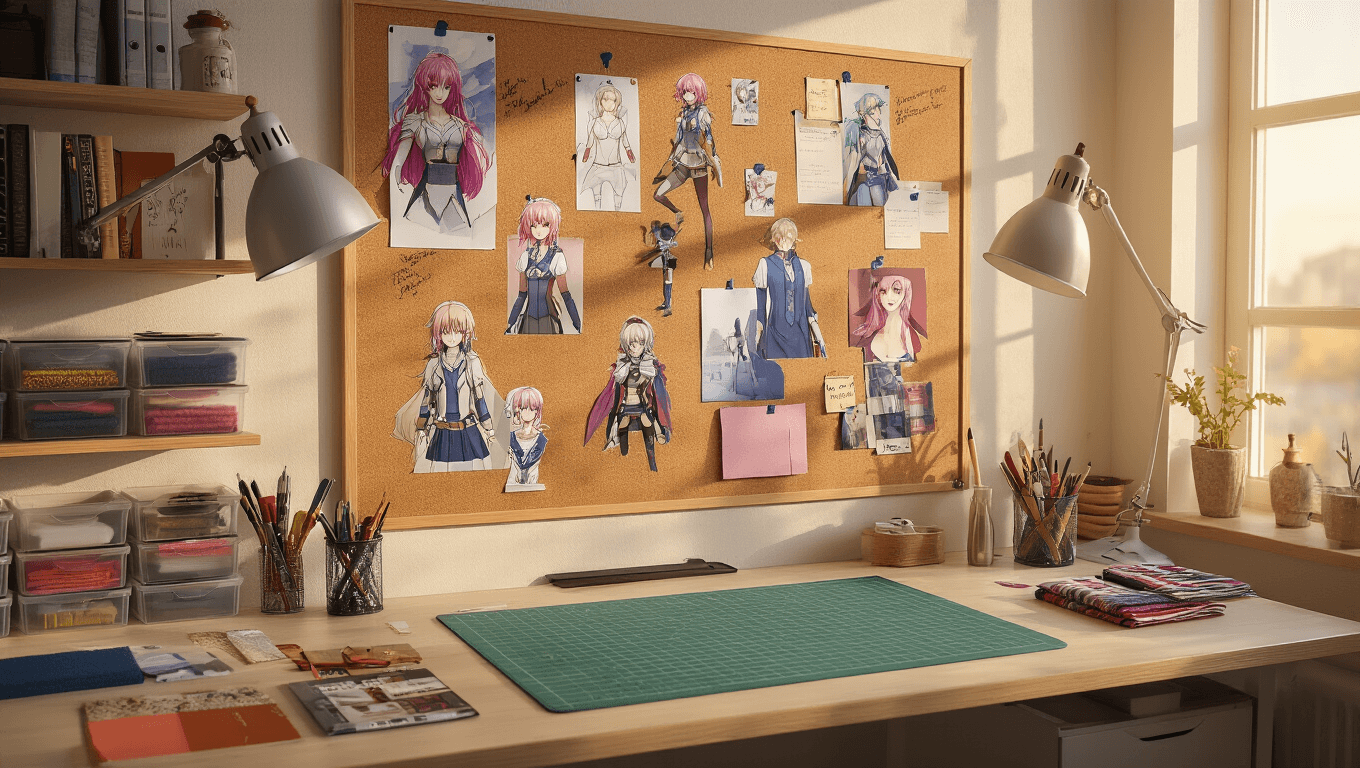
Setting Up Your Physical Craft Space
Your inspiration board deserves a proper home in your workspace.


")


