DIY Decorative Lanterns That’ll Make Your Home Look Expensive (But Cost Almost Nothing)
Contents
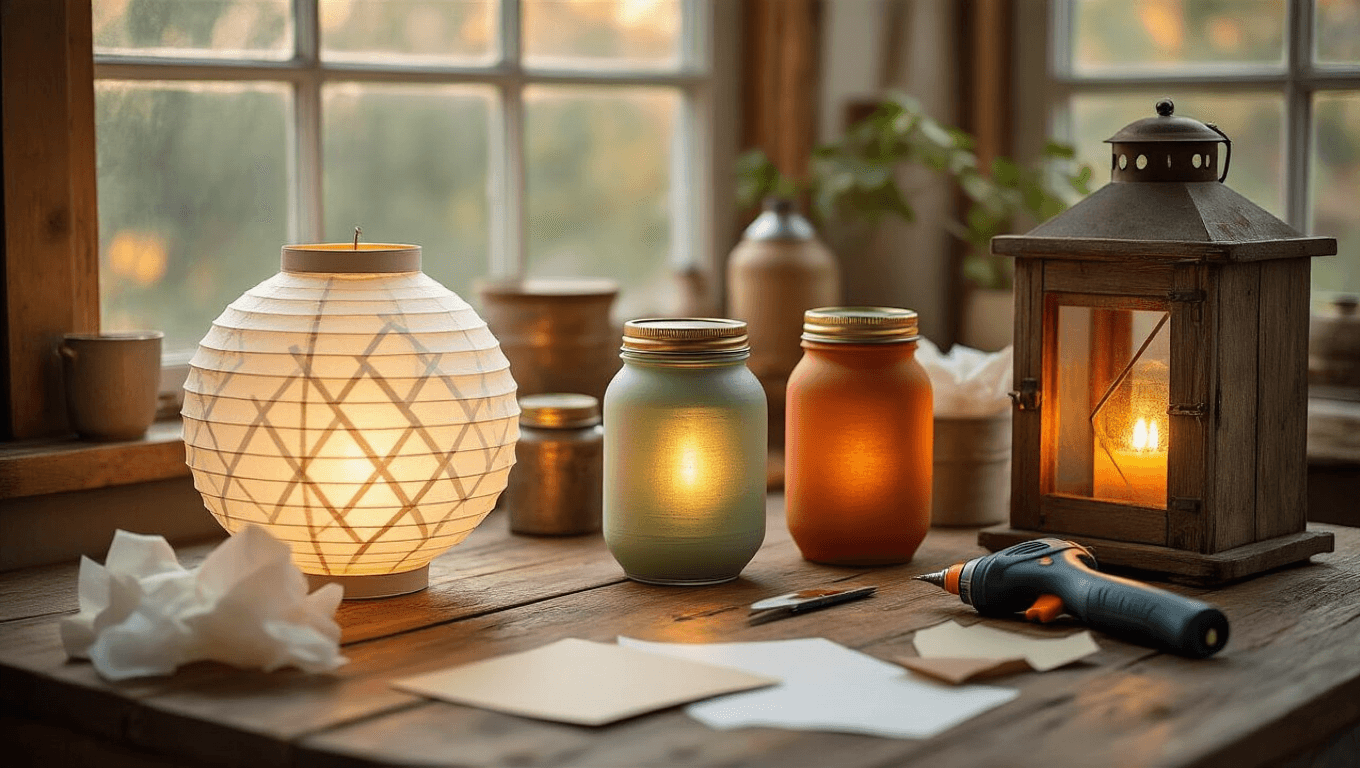
DIY decorative lanterns transform any corner of your home into a cozy, Instagram-worthy space without the designer price tag.
I know what you’re thinking. Another crafty project that looks simple but turns into a hot mess halfway through, right?
Been there. Done that. Got the glue gun burns to prove it.
But here’s the thing—lanterns are actually one of those rare DIY projects that genuinely deliver on the promise. They look complicated and expensive when they’re done. They’re not.
I’ve made dozens of these over the years, from budget Dollar Tree versions that cost less than a latte to fancier wooden ones that could pass for Pottery Barn knockoffs. And I’m going to show you exactly how to make them without the crafting headaches.
")
Why Bother Making Your Own Lanterns?
Look, I get it. You can buy lanterns anywhere.
But here’s what happens when you make them yourself:
You get exactly what you want. That perfect shade of sage green that matches your throw pillows? Done. The exact size that fits on your narrow bookshelf? Easy.
You save a ridiculous amount of money. Store-bought decorative lanterns run $30-80 each. DIY versions cost $5-20. Math isn’t my strong suit, but even I can see that’s a win.
You can actually brag about them. There’s something deeply satisfying about having guests ask “Where did you get that?” and answering “I made it.”
Three Types of Lanterns (And Which One’s Right for You)
I’m not going to overwhelm you with seventeen different methods. You need three. That’s it.
Paper Lanterns: The Modern Minimalist
Best for: Clean, contemporary spaces where you want architectural interest
Time investment: 45 minutes to 1 hour
Cost: $10-15
These look like something from West Elm. Crisp lines, geometric shapes, sophisticated finishes.
I made my first batch for a dinner party and ended up keeping them on my mantel for six months straight. They’re that good.
")
Glass Jar Lanterns: The Bohemian Beauty
Best for: Outdoor spaces, eclectic rooms, or anywhere you want that moody, candlelit vibe
Time investment: 30-45 minutes
Cost: $5-12
Remember those jars you’ve been hoarding because you might need them someday? Today is that day.
These are my go-to for last-minute decorating because they’re fast, forgiving, and honestly kind of therapeutic to make. Slapping tissue paper onto jars is surprisingly meditative.
Wooden Lanterns: The Farmhouse Classic
Best for: Traditional, rustic, or farmhouse-style homes
Time investment: 1.5-2 hours
Cost: $15-30
These require slightly more skill (and power tools), but they’re sturdy, substantial, and look like you paid serious money.
I’ve made several as gifts, and people legitimately don’t believe me when I say they’re homemade.
")
Let’s Make Paper Lanterns (The Foolproof Method)
This is where most people start because it’s low-commitment and high-reward.
What You Actually Need
Don’t overcomplicate this.
The essentials:
- 110lb cardstock in your chosen color (white or cream works for everything)
- Hot glue gun with extra glue sticks
- Clear plastic sheets or plexiglass scraps
- Spray paint for finishing (optional but recommended)
The nice-to-haves:
- Ruler and pencil
- Cutting mat
- X-Acto knife for clean edges
- LED tea lights
")
The Step-by-Step (Without the Crafting BS)
Step 1: Cut your pieces
You’re making a box with a pyramid top. Simple geometry.
Cut these from your cardstock:
- Four side panels (whatever size you want—I do 6×8 inches for medium lanterns)
- One square base
- Four triangular pieces for the peaked roof
- Small tabs on edges for gluing (about ½ inch)
Pro tip: Cut window shapes in your side panels now. Squares, arches, whatever floats your boat. This is where the light will shine through.
Step 2: Fold and assemble the box
Fold along your tab lines. Hot glue the tabs to connect the four sides into a box shape.
Work quickly—hot glue dries fast. Don’t overthink it. Nobody’s going to inspect your glue lines.
Step 3: Build the pyramid top
Fold your four triangular pieces to meet at a point. Glue the edges together where they meet.
This part feels weird the first time. It works. Trust the process.
Step 4: Attach everything
Glue your pyramid to the top of your box. Glue your base to the bottom.
You now have a lantern-shaped thing. It looks rough. Don’t panic.
Step 5: The magic spray paint step
Take your lantern outside. Give it 2-3 light coats of spray paint in your chosen color.
This is what transforms your craft project into a legitimate decor piece. The paint adds weight, hides imperfections, and gives it that finished look.
I’m partial to matte white, soft gray, or metallic gold. All three work with everything.
")