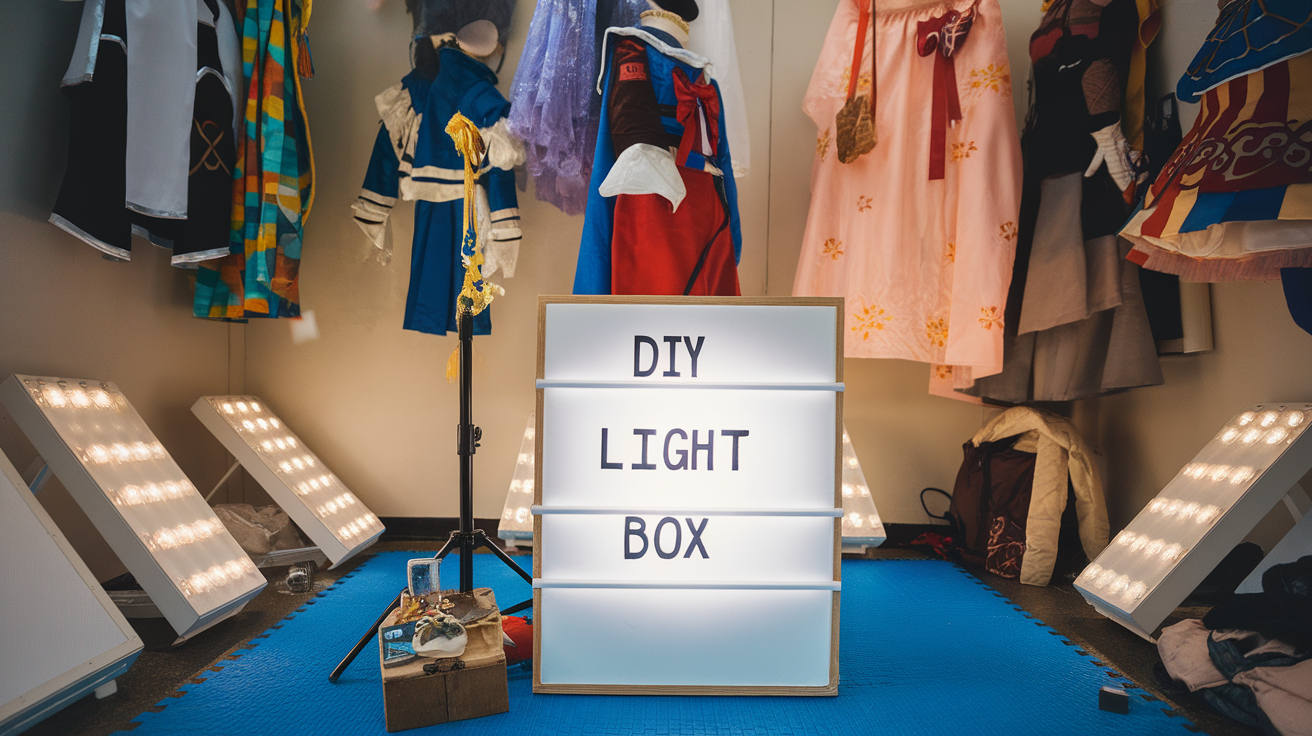
Creating a DIY light box transforms your cosplay room from cluttered chaos into a gallery-worthy showcase.
I’ve spent years watching cosplayers dump hundreds on professional display units, only to realize they could’ve built something better for half the price.
Your costumes deserve more than being stuffed in closets or draped over chairs.

Project Overview
Contents
Quick Style Snapshot
Time needed: 4–8 hours (more if you’re wiring multiple LED strips)
Cost range: $50–$200 for basics, up to $300+ for advanced LED systems
Space requirements: Compact corners, wall mounts, or dedicated shelving—adapts to what you’ve got
Skill level: Intermediate (you’ll need basic woodworking chops and some soldering confidence)
Appeal: Year-round functionality with seasonal swap-out potential
Design Identity
Light boxes marry two critical needs: photography functionality and visual impact.
They work brilliantly in dedicated cosplay studios, bedroom corners, or entertainment spaces where your props and references live.
The strategic lighting creates depth and drama that flat displays simply can’t match.
Think museum-quality presentation without the museum budget.
Styling & Decor Essentials
Must-Have Items
The Frame Foundation
Start with 1×4 lumber boards cut to your target dimensions.
A popular starter size runs about 23″ x 15″ x 3″ deep—big enough for props, compact enough for tight spaces.
Cut 45-degree angles at corners for that professional gallery look.
Your frame isn’t just structure—it’s the skeleton that holds everything together.
LED Lighting Systems
This is where magic happens.
You’ve got two paths:
- Budget route: LED strip lights that you cut, wire, and solder yourself
- Easy route: Smart LED light bars with app control and zero wiring headaches
I’ve built both.
The DIY strips give you complete control over placement and intensity.
Smart systems save hours of frustration if you’re not comfortable with a soldering iron.

Reflective Interior Lining
Line every interior surface with aluminum tape.
This isn’t optional.
Bare wood absorbs light like a black hole absorbs hope.
Aluminum tape bounces every photon forward, multiplying your brightness without adding LEDs.
Diffusion Sheet
Cover the face with acrylic diffusion sheet or translucent acrylic.
This transforms harsh LED points into smooth, even illumination.
Without it, your display looks like a half-finished science project.
With it, you’ve got gallery-level presentation.
Optional Enhancements
Custom Stencil Templates
Print character outlines or logo designs on adhesive vinyl.
Apply them to your acrylic face.
When backlit, they create stunning silhouette effects that scream “I know what I’m doing.”
Design in Photoshop, CorelDRAW, or even Canva if you’re keeping it simple.
Integrated Prop Lighting
Build smaller LED units directly into costume pieces.
Arc reactor replicas, glowing sword hilts, illuminated armor panels—these add dimension beyond the main box.
Your display becomes interactive, not just decorative.

Foam Diffusion Layers
Stack multiple diffusion materials for ultra-smooth lighting.
LED foam sandwiched with translucent sheets eliminates every trace of individual bulbs.
This is the difference between “nice DIY project” and “wait, you built that?”
Pro Styling Tips
Circuit Strategy Matters
Cut and splice LED strips instead of running continuous strands.
This lets you position lights exactly where shadows form.
One 3-volt LED runs about 11 hours on a single battery—calculate total runtime based on your LED count.
Treat It Like a Photography Studio
Because that’s exactly what it is.
Every surface that doesn’t face forward gets aluminum tape.
The backing board especially—this becomes your primary reflector.

Visual Hierarchy Is Everything
Your most striking prop goes center-front.
Secondary pieces frame it.
The lighting naturally creates a focal point—work with that, not against it.
Don’t crowd the space.
Negative space makes hero pieces pop.
Setup & Execution
Scene Prep Checklist
✓ Cut wood pieces with precise measurements and clean 45-degree miters
✓ Assemble the frame using wood glue and picture frame clamps for square corners
✓ Install acrylic sheet in its recessed rabbet before final assembly
✓ Seal exterior surfaces with wood sealant and spray lacquer
✓ Apply aluminum tape to all interior walls and backing
✓ Plan LED layout on paper before touching wire
✓ Gather electronics: soldering iron, heat shrink tubing, slide switch, battery holders, wire
Styling in Action
Basic LED Installation
Strip wire ends cleanly—about 1/4 inch exposed.
Tin them with solder to prevent fraying.
Connect positive (red) to the long LED leg.
Connect negative (black) to the short LED leg.
Use helping hands or alligator clips to hold everything steady while you work.
Add a slide switch between battery and LED array so you’re not wasting power.