How to Style Eren Cosplay Long Hair Like a Pro
I’m gonna be straight with you right off the bat—styling Eren cosplay long hair isn’t as complicated as it looks, but it does take some practice to get that perfect messy-but-not-too-messy vibe.
And honestly, once you nail it, you’ll feel like you just walked straight out of the final season.
I’ve been into cosplay for a few years now, and Eren’s long hair phase is one of those looks that just hits different.
It’s got that rebellious, “I’ve been through some stuff” energy that makes it so iconic.
But here’s the thing—a lot of people overthink it or try to make it too perfect, which totally kills the vibe.
So let me walk you through exactly how to get this look right, whether you’re working with your natural hair, a wig, or somewhere in between.

Why Eren’s Long Hair Is So Popular for Cosplay
Okay so first off, let’s talk about why everyone wants to do this look.
Eren’s long hair era represents this huge shift in his character—from the hot-headed kid to someone who’s seen way too much and has gone through serious transformation.
The hair literally tells a story.
It’s messy, kinda wild, and shows he’s not worried about looking polished anymore.
That’s why it resonates so much with cosplayers.
Plus, compared to some other anime hairstyles that require crazy gravity-defying spikes or unnatural colors, Eren’s long hair is actually wearable in real life.
You could rock this look to a convention or even just casually and people would recognize it instantly.

What You Actually Need to Get Started
Before we dive into styling, let me break down what you’ll need to pull this off.
For natural hair:
- Hair that’s at least 10-12 inches long (front and sides especially matter)
- Hair elastic bands that won’t damage your hair
- Argan oil or hair serum for that slight shine
- Texturizing spray or styling cream
- Bobby pins (just in case)
For wig styling:
- A quality long brown cosplay wig
- Wig brush or wide-tooth comb
- Got2b glued spray (if you need extra hold)
- Wig cap
- Scissors for trimming (only if needed)
The natural hair route is definitely more authentic looking, but wigs give you way more flexibility and you don’t have to commit to growing your hair out for months.
Both work great, it just depends on your situation.

Step-by-Step Guide to Styling Eren’s Long Hair
Alright, here’s where the magic happens.
I’m gonna break this down super simple so you can follow along whether this is your first cosplay or your fiftieth.
Step 1: Prep Your Hair Properly
This is where most people mess up because they skip it entirely.
Start with clean, slightly damp hair—not soaking wet, but not bone dry either.
Apply a small amount of argan oil or hair serum through the mid-lengths and ends.
This gives you that subtle shine Eren’s hair has without looking greasy or overdone.
The goal is healthy-looking hair that moves naturally, not stiff or crunchy.
If you’re working with a wig, brush it out gently from the ends up to avoid damaging the fibers.

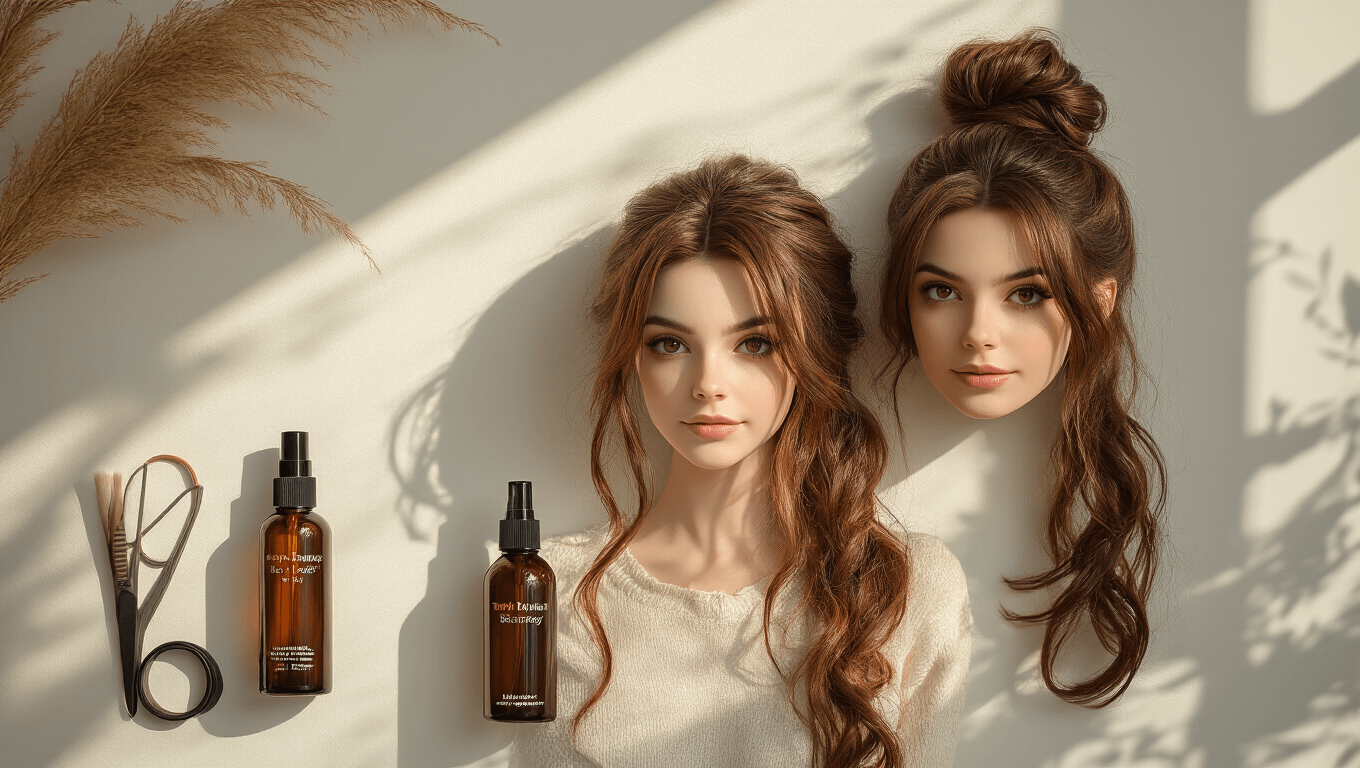
Step 2: Create the Signature Messy Bun
This is the most recognizable part of the whole look.
Gather most of your hair back like you’re making a ponytail, but here’s the key—don’t grab everything.
Leave out some pieces at the front, especially around your face and temples.
These face-framing strands are super important for getting that Eren vibe.
Twist the gathered hair loosely and wrap it into a bun that sits mid-to-low on your head.
Don’t make it tight or neat—that’s the opposite of what we want.
Secure it with your hair elastic, but only do like two loops and then a half loop so it stays kinda loose.
The bun should look like you just threw your hair up without thinking about it too much.
Step 3: Adjust and Mess It Up (In a Good Way)
Once your bun is secured, gently push your hair forward slightly.
This keeps it from looking too pulled-back and severe.
Pull out a few more pieces randomly, especially near your ears and the nape of your neck.
Some people get worried about making it “too messy” but honestly, that’s almost impossible with this style.
Eren’s whole aesthetic is that he doesn’t care about looking perfect.
Tuck a few strands behind your ears if you want to show more of your face for photos.

Step 4: Add Texture and Hold
Now that the basic shape is there, it’s time to make it stay.
Spray some texturizing spray throughout, focusing on the loose pieces and the bun itself.
If you’re using styling cream instead, rub a tiny amount between your palms and run it through the ends and any flyaways.
This step is what takes it from “I just woke up” to “I styled this to look like I just woke up.”
There’s a difference, trust me.
For wigs, you might want a light mist of hairspray or wig spray to keep everything in place during a long con day.
Step 5: Check Your Angles
Here’s something I learned the hard way—what looks good straight-on might look weird from the side or back.
Use a handheld mirror or your phone camera to check all angles.
The bun should be visible but not too high up.
The loose pieces should frame your face without covering too much.
Make small adjustments until it looks right from every direction.
This is especially important if