How to Create the Perfect Fluttershy Cosplay Without Breaking the Bank
Contents
I’m gonna be real with you right from the start—Fluttershy cosplay is one of those projects that looks intimidating at first but is totally doable once you break it down.
Whether you’re heading to your first convention or just want to dress up as everyone’s favorite shy pony from My Little Pony, I’ve got your back.
Let me walk you through everything you need to know.
Why Fluttershy? Because She’s Actually All of Us
Look, I get it.
Fluttershy might not be the flashiest character in the My Little Pony universe, but that’s exactly why so many of us love her.
She’s kind, she’s gentle, and she’s got that whole “I’d rather stay home with my pets” vibe that honestly hits different.
Plus, her pastel yellow and pink color scheme? Absolutely gorgeous and way easier to style than you’d think.
When I first considered doing a Fluttershy cosplay, I thought it would be complicated.
Turns out, it’s one of the more beginner-friendly cosplays out there if you know where to start.

The Two Paths: DIY vs. Buying Your Fluttershy Costume
Here’s the thing—you basically have two options when it comes to putting together your Fluttershy look.
You can either buy a pre-made costume or you can DIY the whole thing from scratch.
Both have their pros and cons, and honestly? Neither choice is wrong.
Buying a Ready-Made Costume:
This is your quick route.
You order it online, it shows up at your door, and boom—you’re pretty much set.
The downside is you’re limited to what’s available, and sometimes the quality can be hit or miss.
Going the DIY Route:
This takes more time and effort, but you get complete control over how everything looks.
Plus, there’s something really satisfying about making your own costume pieces.
And between you and me? People at conventions always appreciate handmade cosplays.
I’m gonna cover both options so you can decide what works best for your timeline, budget, and skill level.
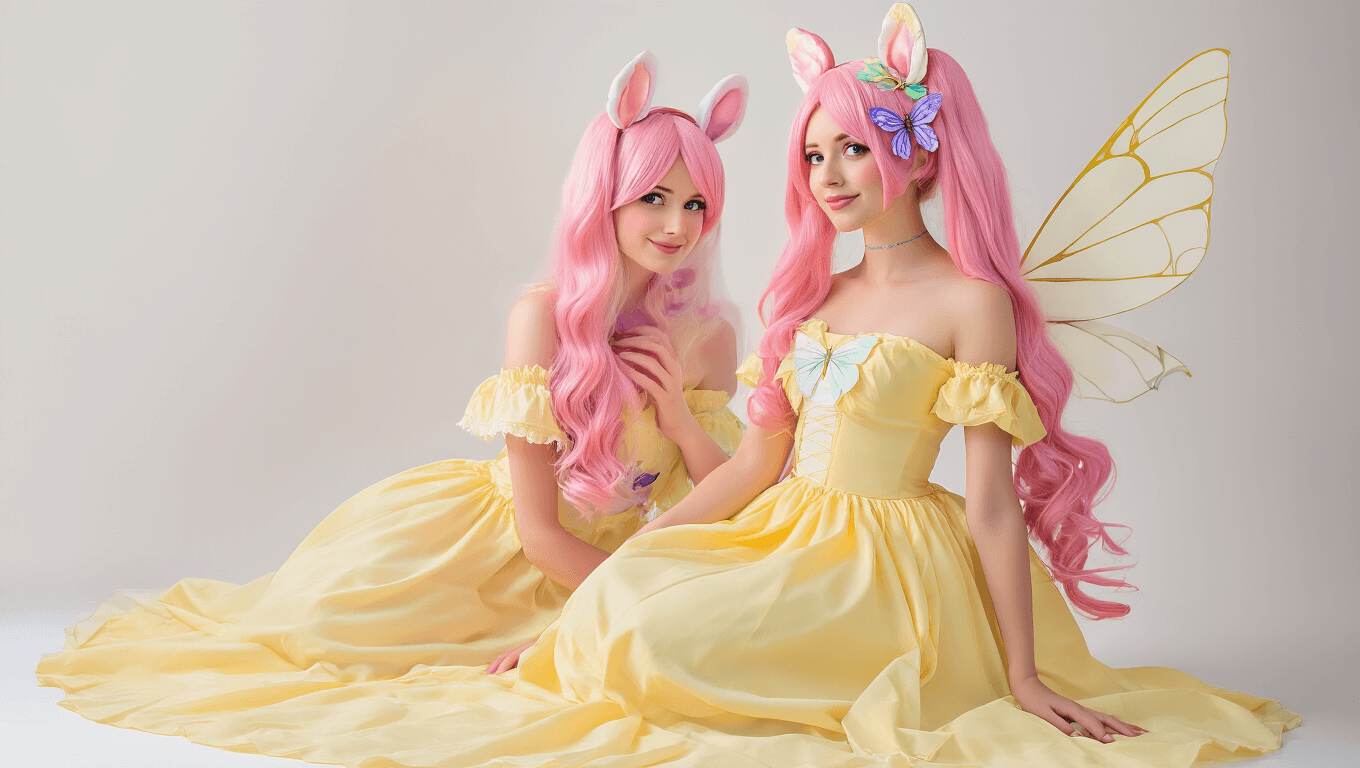
What You Actually Need for a Fluttershy Cosplay
Before we dive into the how-to stuff, let’s talk about what makes a Fluttershy cosplay recognizable.
You don’t need every single element to pull this off, but these are the core pieces:
- Pastel yellow base outfit (dress, jumpsuit, or even separates)
- Pink mane and tail (wig is your best friend here)
- Butterfly cutie marks (those three pink butterflies on her flank)
- Wings (because she’s a pegasus, duh)
- Pony ears (attached to a headband usually)
- The right attitude (shy, sweet, animal-loving energy)
Now let’s break down how to actually get or make each piece.

Building Your Fluttershy Costume from Scratch (The DIY Way)
Alright, so you’ve decided to go the handmade route.
Smart choice, especially if you want your cosplay to stand out.
Here’s how to tackle each component without losing your mind or your wallet.
Creating the Cutie Mark Accessories
Fluttershy’s cutie mark is three pink butterflies, and honestly? This is probably the easiest part.
You can wear these as hair clips, attach them to your outfit, or even make them into a brooch.
What you’ll need:
- Cardboard (I literally used an old Amazon box)
- Purple and teal nail polish
- Sparkly topcoat nail polish
- Scissors
- Hot glue gun
- Hair clips or safety pins for attaching
Here’s what you do:
Start by drawing three butterfly shapes on your cardboard.
They don’t have to be perfect—honestly, a little wonkiness makes it look more handmade in a good way.
Cut them out carefully with sharp scissors.
Paint each butterfly using the purple and teal nail polish to create that gradient effect Fluttershy has.
Let them dry completely (this takes longer than you’d think, be patient).
Add a sparkly topcoat to make them catch the light.
Attach hair clips or safety pins to the back with hot glue, and you’re done.
Pro tip: Make extras because you might mess one up, or you might want to give one to a fellow cosplayer you meet.

Making Those Iconic Pegasus Wings
Okay, this is where things get slightly more complicated, but stick with me.
The wings are what really sell the whole pegasus look, so they’re worth the effort.
Materials you’ll need:
- Large pieces of cardboard
- Yellow acrylic paint
- Mod Podge
- Hot glue gun and glue sticks
- Elastic straps (about 2 inches wide works great)
- Paintbrushes
- Pencil and paper for your pattern
The process:
First, draft your wing pattern on regular paper.
Look up reference images of Fluttershy’s wings online—they’re kind of rounded with individual feather details.
Make them big enough to be noticeable but not so huge you can’t fit through doorways (trust me on this one).
Trace your pattern onto cardboard and cut out multiple pieces.
You’ll need at least two main wing pieces, but you can layer smaller feather shapes on top for dimension.
Use hot glue to attach everything together.
This is where it gets messy, so work on a surface you don’t care about.
Once your wings are assembled, coat them with Mod Podge.
This step is important because it makes the cardboard less obviously cardboard-y and gives you a better painting surface.
Let it dry completely—like, actually wait the full drying time.
Now comes the painting.
Use thin layers of yellow acrylic paint rather than trying to cover everything in one thick coat.
Multiple thin layers always look better and more professional.
Let each layer dry before adding the next one.
For the harness, attach elastic straps to the back of the wings in a backpack-style configuration.
You want them to sit comfortably on your shoulders without sliding