How to Make a Cosplay Photo Wall That Actually Looks Professional
Contents
- How to Make a Cosplay Photo Wall That Actually Looks Professional
- Why Your Current Photo Background Probably Sucks
- The Dead Simple Fabric Method (Start Here)
- The $10 Infinity Wall (When You Want to Look Fancy)
- The Backdrop Stand System (My Personal Favorite)
- The Projector Trick (For When You Want Any Background Imaginable)
- Lighting Your Photo Wall (This Makes or Breaks Everything)
Making a cosplay photo wall doesn’t require renting a studio or spending thousands on equipment.
I’ve shot hundreds of cosplay photos in spaces ranging from cramped apartment corners to dedicated home studios, and I’m going to show you exactly how to build your own setup without breaking the bank.
Why Your Current Photo Background Probably Sucks
Let me guess what’s happening right now.
You’re taking cosplay photos against your bedroom wall, and every shot includes your laundry basket, that random poster from 2015, or the edge of your unmade bed.
Or maybe you’ve tried hanging a bedsheet, but it’s wrinkled to hell and looks exactly like what it is—a bedsheet.
Your cosplay deserves better than that cluttered mess in the background.
The good news? Creating a proper photo wall is stupidly simple once you know the tricks.

The Dead Simple Fabric Method (Start Here)
This is where most cosplayers should begin.
Head to Walmart and grab some stretchy fabric—specifically scuba material or athletic fabric.
Here’s why this works brilliantly:
- No ironing required (because who has time for that?)
- Stretches flat against your wall
- Comes in multiple colors
- Costs under $20 for enough fabric to cover a decent-sized wall area
Here’s what you do:
Grab fabric backdrop material in your chosen color.
Use thumbtacks or push pins around the edges to secure it to your wall.
Pull it tight as you pin—seriously tight—to eliminate wrinkles and sagging.
The stretchy material does the heavy lifting here, naturally smoothing out as you pull.
Pro tip I learned the hard way: Start pinning from the top center, then work your way outward and down. If you start from the corners, you’ll get weird bunching in the middle that drives you absolutely insane.
You can hang multiple colors side by side and simply step left or right to change your background between shots.
No re-hanging. No fussing. Just shoot.

The $10 Infinity Wall (When You Want to Look Fancy)
An infinity wall is that curved, seamless background you see in professional product photography.
It eliminates the visible corner where wall meets floor, creating that floating effect in photos.
And you can build one for under ten bucks in about twenty minutes.
What you need:
- Poster board (white or your color of choice)
- Seven paint sticks (grab them free from Home Depot’s paint department—yes, actually free)
- Hot glue gun and glue sticks
- Scissors
Build it like this:
Create an L-shaped frame from the paint sticks using hot glue.
Attach the poster board, creating a gentle curve where the vertical and horizontal sections meet instead of a sharp 90-degree angle.
This setup is perfect for detail shots—props, accessories, helmet close-ups, that kind of thing.
Not big enough for full-body shots unless you’re photographing a child or sitting poses.

The Backdrop Stand System (My Personal Favorite)
This changed everything for me.
A collapsible backdrop stand runs about $75 and gives you maximum flexibility.
Why I love this setup:
- Zero wall damage (crucial if you’re renting)
- Swap backgrounds in literal seconds
- Take it to conventions or outdoor shoots
- Built-in clips keep fabric taut and wrinkle-free
- Breaks down flat for storage
I keep three different fabric colors hanging on mine simultaneously.
Need to switch from black to white? Just flip to the other side of the stand.
The built-in clips and clamps do the work of stretching the fabric smooth, so you’re not fighting with wrinkles between every shot.
I’ve taken this setup to friend’s houses, hotel rooms during conventions, and even outdoor locations where I wanted a controlled background.
Get fabric specifically designed for photo backdrops or grab that stretchy scuba material I mentioned earlier.
Regular fabric will show every wrinkle and crease, which means more work in editing later.

The Projector Trick (For When You Want Any Background Imaginable)
Here’s something most cosplayers don’t think about.
You can project literally any background onto a white wall using a basic projector.
Fantasy castle? Projected.
Cyberpunk cityscape? Projected.
Starfield? Projected.
What you need:
- A digital projector (even a budget one works)
- White wall or white projector screen
- Black cloth or fabric to cover surrounding areas
- Your background image
Here’s the critical part most people screw up:
The wall or screen MUST be white.
Projecting onto beige, gray, or colored walls will wash out your image completely.
Hang black cloth or sheets around the projection area to prevent light bounce that kills your image contrast.
Position your projector high and angled down slightly to avoid your body casting shadows on the background.
I won’t lie—this method takes more setup and tweaking than a simple fabric backdrop.
But when you nail it, the results are absolutely stunning.

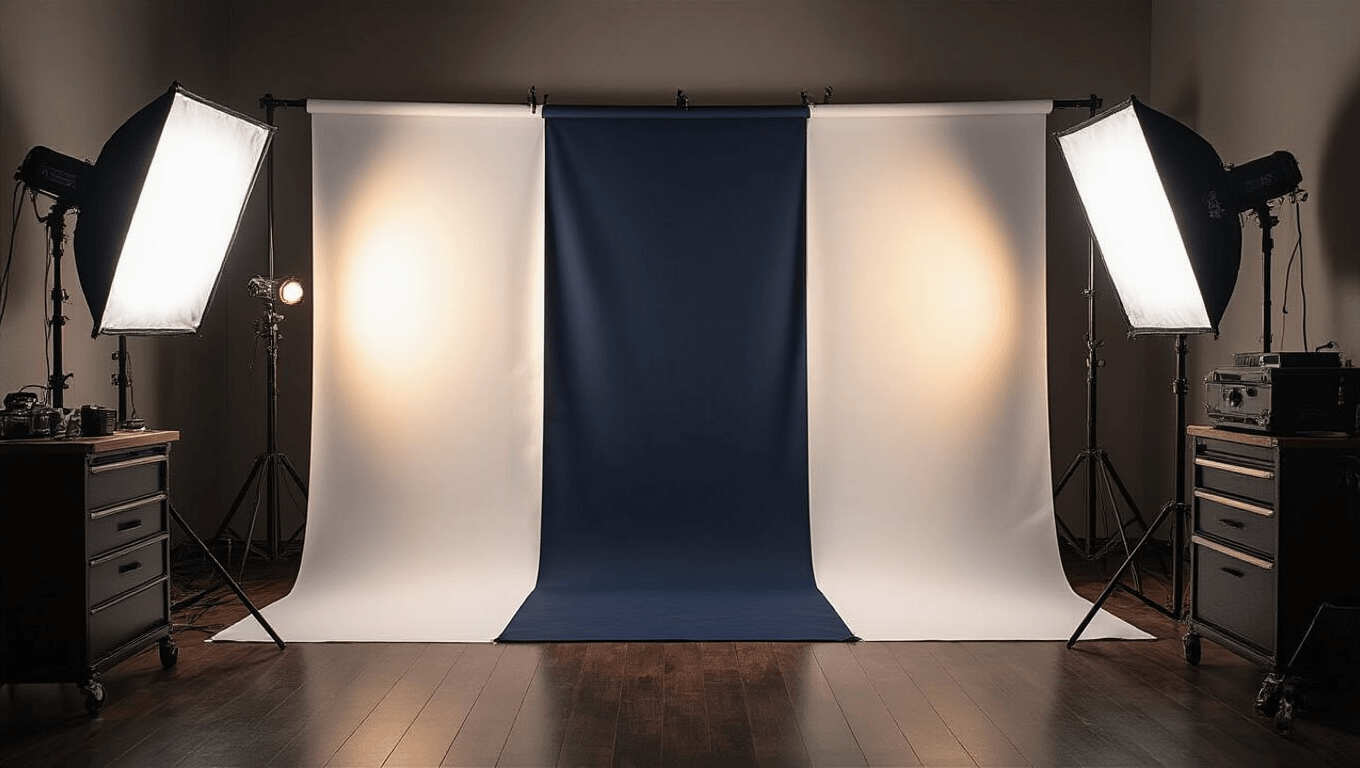
Lighting Your Photo Wall (This Makes or Breaks Everything)
Your background is only half the equation.
Bad lighting will make even the best backdrop look like garbage.
Budget lighting ($50-75):
Start with a ring light with tripod stand.
It provides even, flattering light