10 Essential Tips for a Perfect Jeff the Killer Cosplay

10 Essential Tips for a Perfect Jeff the Killer Cosplay

Hey there, horror fans! Today I’m diving into everything you need to know about creating an amazing Jeff the Killer cosplay. Trust me, I’ve done this look multiple times for conventions, and I’ve learned all the tricks to nail this creepy creepypasta character.

A close-up shot of a dimly lit makeup studio showcasing a model undergoing a Jeff the Killer transformation. White face paint is being meticulously applied with high-end brushes, highlighting hollow cheekbones and a signature smile crafted from liquid latex. Professional beauty lighting casts dramatic shadows, while multiple HD cameras capture the intricate details. The color palette features stark whites, deep blacks, and hints of blood red.

Getting the Base Right

First things first – you’ll need a pure white zip-up hoodie. Not off-white, not cream – we’re talking stark white like fresh printer paper. Pair it with some black skinny jeans and you’ve got your base outfit sorted.

A full-body shot of a cosplayer in a white zip-up hoodie and black skinny jeans stands in a moody urban alleyway at dusk, with graffiti-covered brick walls. Natural wind lifts their black shoulder-length wig, while dramatic shadows from overhead street lamps enhance the eerie atmosphere, captured from a low angle with a shallow depth of field.

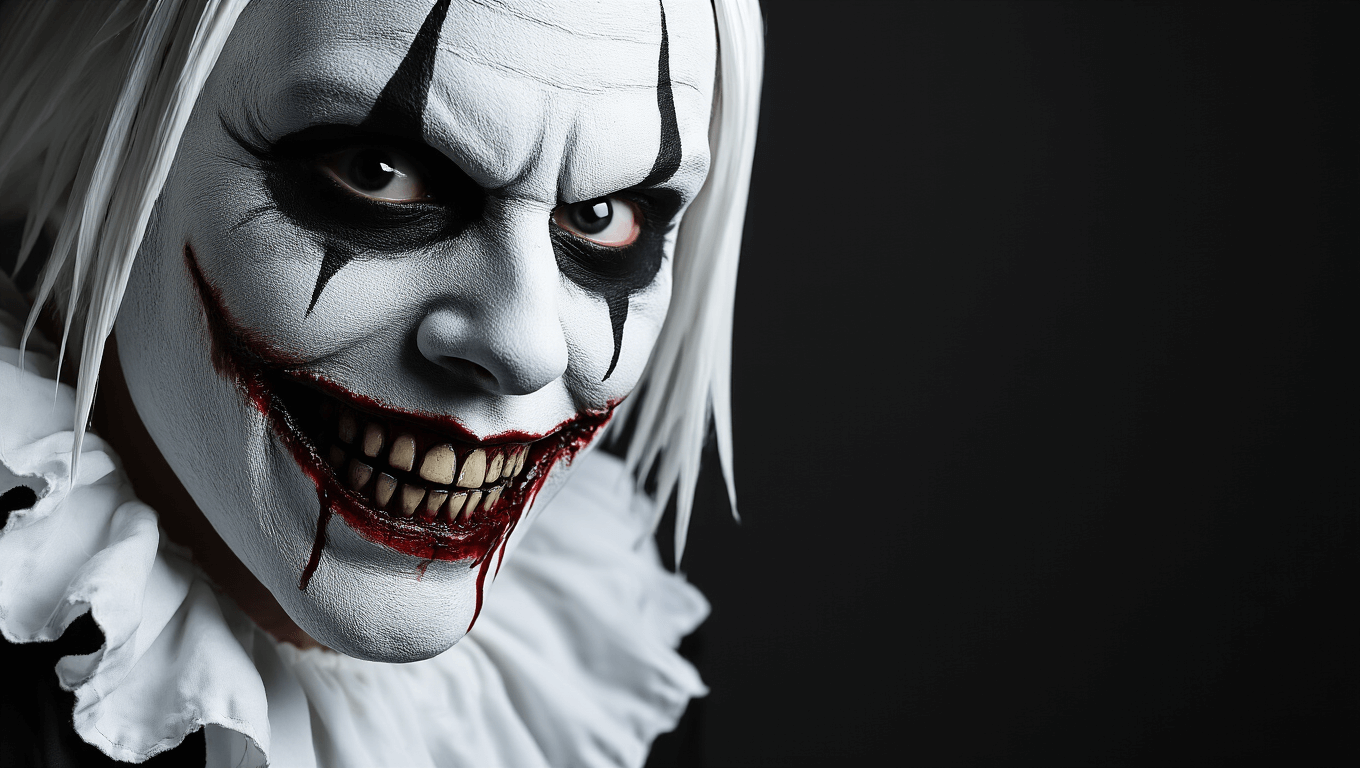
The Face is Everything

Let’s be real – the face makeup is where this cosplay lives or dies. You’ll need:

  • White face paint or foundation (get the good stuff)
  • Black eyeshadow for those hollow eyes
  • Liquid latex for the carved smile
  • Red face paint or lipstick

Pro tip: I learned the hard way that cheap face paint will crack and flake. Invest in quality products – your photos will thank you later.

Mid-shot of a professional photography setup featuring a seamless black backdrop, highlighting a pristine white hoodie with detailed zipper elements, distressed fabric edges, and strategic fake blood splatters. The studio lighting emphasizes the dramatic contrast between the white costume and dark background, showcasing texture details with multiple light sources.

The Hair Situation

For Jeff’s signature black hair, you’ve got two options:

  1. Style your own hair if it’s already black and shoulder-length
  2. Get a black cosplay wig (my recommendation for most people)

The wig needs to be messy but not tangled – there’s definitely a sweet spot here.

Close-up reflection of a vintage bathroom showcasing an antique mirror and dim fluorescent lighting, featuring the detailed application of a carved smile prosthetic with high-end makeup tools on a marble countertop, all set in cool tones that enhance the haunting transformation, seen through a slightly foggy mirror.

Creating the Iconic Smile

This is probably the trickiest part. Here’s my tried-and-true method:

  1. Map out the smile with eyeliner
  2. Build up the “carved” effect with liquid latex
  3. Paint and blend carefully
  4. Add darker shading around the edges

A wide-angle view of a convention center hallway featuring dramatic architectural lighting. A cosplayer dressed as Jeff the Killer interacts with frightened attendees, showcasing intricate costume details. Multiple light sources cast dynamic shadows, enhancing the scene's atmosphere, while the movement in the cosplayer's clothing and wig adds to the action.

Getting the Photos Right

Listen, I’ve seen so many great Jeff cosplays ruined by bad photos. Here’s what works:

  • Dim lighting (but not too dark)
  • Slightly tilted head angles
  • Urban or abandoned-looking backgrounds
  • Close-ups of the smile detail

Abandoned warehouse interior at golden hour, with sunlight streaming through broken windows highlighting a character in a pristine white hoodie amidst a grungy environment, captured in a dramatic Dutch angle composition with leading lines emphasizing urban decay elements in the background.

Common Mistakes to Avoid

Trust me, I’ve made these mistakes so you don’t have to:

  • Using cheap makeup that melts under convention lights
  • Forgetting to seal the makeup (nightmare scenario)
  • Making the smile too symmetrical (it should look rough)
  • Wearing the wrong shade of white hoodie

Whether you’re planning this for Halloween or your next con, these tips will help you create a Jeff the Killer cosplay that’s genuinely creepy – and that’s exactly what we’re going for.

Extreme close-up of a face with hollow black eyes and a carved smile texture, showcasing detailed skin textures and subtle crimson undertones. The image features multiple catch lights in the eyes, creating a haunting effect, with sharp focus on prosthetic application against a clean black background with a slight gradient.

Remember, practice the makeup at least once before your event. Nothing worse than trying to figure out liquid latex application when you’re already running late!

Happy haunting, cosplay friends! Drop a comment if you’ve got any questions – I’m always around to help fellow horror enthusiasts get their scare on.

Pin This Now to Remember It Later
Pin This

Leave a Comment

Your email address will not be published. Required fields are marked *

Scroll to Top