Creating Joker Cosplay Makeup: The Complete Step-by-Step Guide
Contents
- Creating Joker Cosplay Makeup: The Complete Step-by-Step Guide
- Base & Foundation Essentials
- Detailing Products That Make It Look Real
- Optional Materials for Next-Level Looks
- Start With a Clean Canvas
- The Eyebrow Trick Everyone Needs
- Coverage Is Everything
- Setting It So It Actually Lasts
- Fill In Those Eye Sockets
I’m gonna be real with you—the first time I tried Joker makeup, I looked more like a sad clown at a kid’s birthday party than a terrifying villain.
But after messing it up a few times and learning what actually works, I figured out how to nail that chaotic, unsettling look that makes the Joker so iconic.
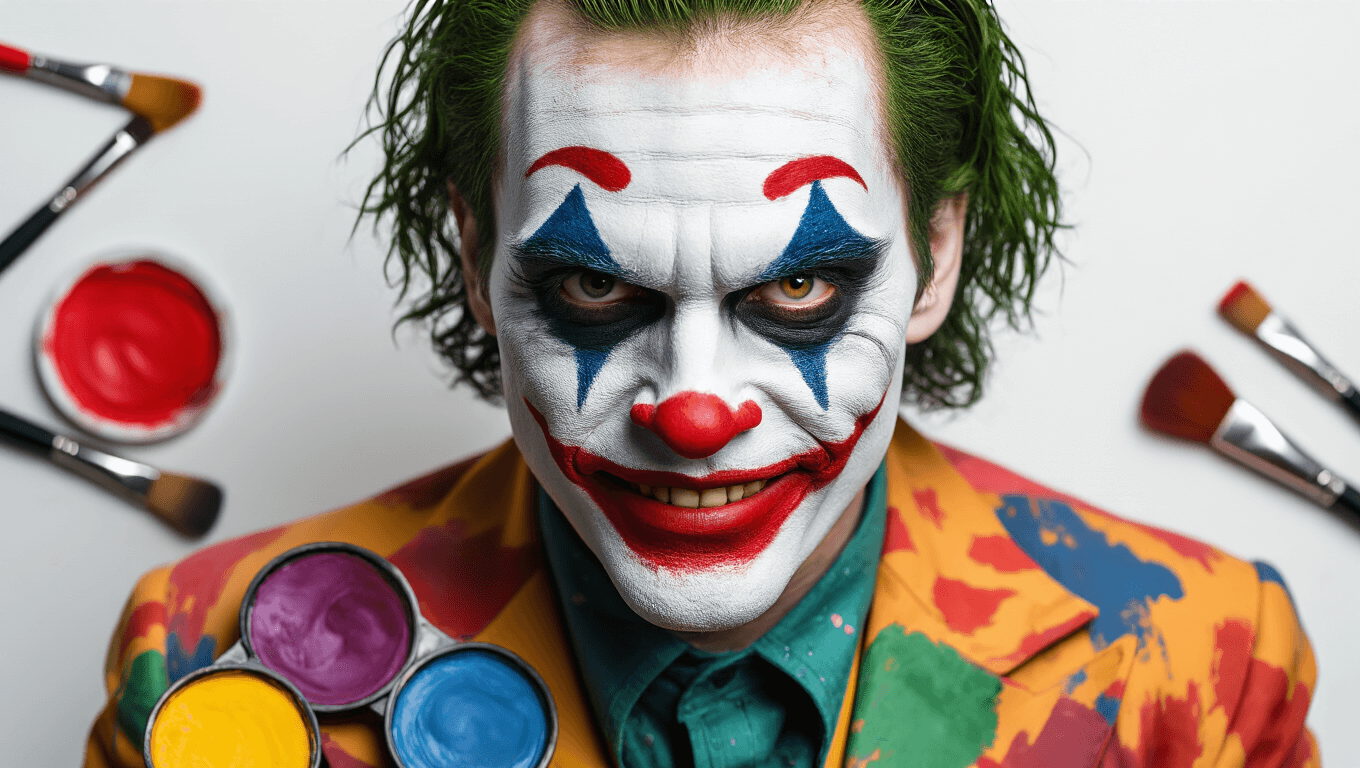
Creating Joker cosplay makeup requires a white base, black eye detailing, and red mouth and nose accents, with variations depending on which version of the character you’re portraying.
And honestly? Once you know the tricks, it’s way easier than it looks.

Why Most People Get Joker Makeup Wrong
Here’s the thing most tutorials won’t tell you: perfection is your enemy with this look.
I spent way too long trying to blend everything perfectly the first time, and it just looked…wrong.
The Joker isn’t supposed to look polished or pretty—he’s chaos in human form.
That messy, slightly unhinged quality? That’s what makes the makeup actually work.
So if you’re stressing about making everything symmetrical and clean, stop right now.
What You Actually Need (No Fancy Stuff Required)
Let me break down the supplies you’ll need, and trust me, you don’t have to spend a fortune on this.
Base & Foundation Essentials
The white base is literally the foundation of everything, so don’t skip this part.
You need white face paint that’s gonna cover your entire face without looking streaky.
Here’s what works:
- White face paint or makeup—applied messily, not perfectly
- Setting powder to actually seal everything so you don’t end up looking like a melted candle halfway through your event
- Sponges for application because your fingers alone won’t cut it
Pro tip I learned the hard way: cheap face paint sometimes separates or cracks after an hour.
Get something that’s actually designed for cosplay or theater if you can.

Detailing Products That Make It Look Real
This is where the magic happens, honestly.
The details are what transform you from “person wearing white paint” to “holy crap that’s actually the Joker.”
You’re gonna need:
- Black face paint or black lipstick for those haunting eye sockets
- Red face paint for the nose and that disturbing smile
- Black liquid eyeliner for sharp lines and wrinkles (this stuff is gold for adding age and menace)
- Optional but awesome: a darker red shade to add dimension so the mouth doesn’t look flat
Optional Materials for Next-Level Looks
If you’re going for the Heath Ledger Dark Knight version or want to get really intense, consider these:
- Spirit gum for applying scar tissue or sealing details that need to last
- Scar tissue wax if you’re creating those cheek scars
- Bald cap to protect your hair from all that paint
- Brown contour powder to create shadows that make your face look more gaunt and twisted
I didn’t use half this stuff my first time, and that’s totally fine.
Start simple, then level up as you get more comfortable.

Prepping Your Face (Don’t Skip This Part)
Okay, so before you touch any paint, you gotta prep properly.
I skipped this step once and my makeup literally slid off my face within two hours.
Not cute.
Start With a Clean Canvas
Wash your face thoroughly and make sure it’s completely dry.
Any oil, sweat, or moisturizer will make the paint slip around like you’re trying to paint on glass.
Pat your face dry with a clean towel and wait a few minutes before starting.
The Eyebrow Trick Everyone Needs
If you want that smooth, creepy look without your eyebrows showing through, grab a glue stick.
Yep, a regular purple glue stick.
Apply it over your eyebrows and press them down flat.
It sounds weird, but it actually works to keep them from poking through the white paint.
Just make sure it’s completely dry before you start painting over it.

Applying the White Base Without Looking Like a Ghost
The white base is probably the most important part, so lets talk about how to actually do it right.
Coverage Is Everything
Take your white face paint and start applying it with a damp sponge.
Cover your entire face and ears—but skip the inside of your ears and your hairline unless you want white stains everywhere.
Here’s the key: don’t try to make it perfect.
The Joker’s makeup is supposed to look like he slapped it on himself in a dirty bathroom mirror.
Leave some streaks, let it be a little uneven.
That imperfection is what makes it look authentic instead of like stage makeup.
Setting It So It Actually Lasts
Once you’ve got your white base down, you gotta set it.
Dust setting powder all over your face with a big fluffy brush.
This seals everything and keeps it from smudging when you add the other colors.
I learned this lesson at a convention when my white base literally rubbed off on someone’s shoulder during a photo.
Super embarrassing.

Creating Those Haunting Black Eyes
This is where the Joker look starts to get really intense and recognizable.
Fill In Those Eye Sockets
Take your black face paint and start filling in around your eyes.
Begin at the inner corner and work your way outward.
You want to create that sunken, hollow look that makes the eyes look darker and more menacing.
Don’t worry