Making Your Room Photo-Ready: A Comprehensive Guide to Styling Spaces for Stunning Photography
Contents
- Making Your Room Photo-Ready: A Comprehensive Guide to Styling Spaces for Stunning Photography
- Why Room Photography Matters
- The Decluttering Foundation
- Styling Like a Pro: Key Elements
- Technical Photography Tips
- Final Styling Checklist
- Post-Production Magic
- Pro Accessories to Elevate Your Shots
- Final Thoughts
Transforming your room into a camera-ready sanctuary isn’t just about cleaning up—it’s an art form that blends design, lighting, and strategic styling. Let me walk you through the ultimate guide to creating photo-worthy spaces that will make your Instagram followers stop scrolling.

Why Room Photography Matters
Have you ever scrolled through design magazines or Pinterest and wondered how spaces look so perfect? The secret isn’t magic—it’s meticulous preparation.
Essential Gear to Get Started
Before we dive in, let’s talk equipment. You’ll need:
- Sturdy Tripod for crisp, shake-free shots
- Wide-Angle Lens to capture full room perspectives
- Portable LED Lights for perfect lighting
- Styling Accessories Kit with vases, trays, and decorative objects
The Decluttering Foundation
Pro Tip: Less is MORE in room photography.
Remove visual noise:
- Clear away random papers
- Hide electronic cables
- Minimize personal items
- Create breathing room in your space

Styling Like a Pro: Key Elements
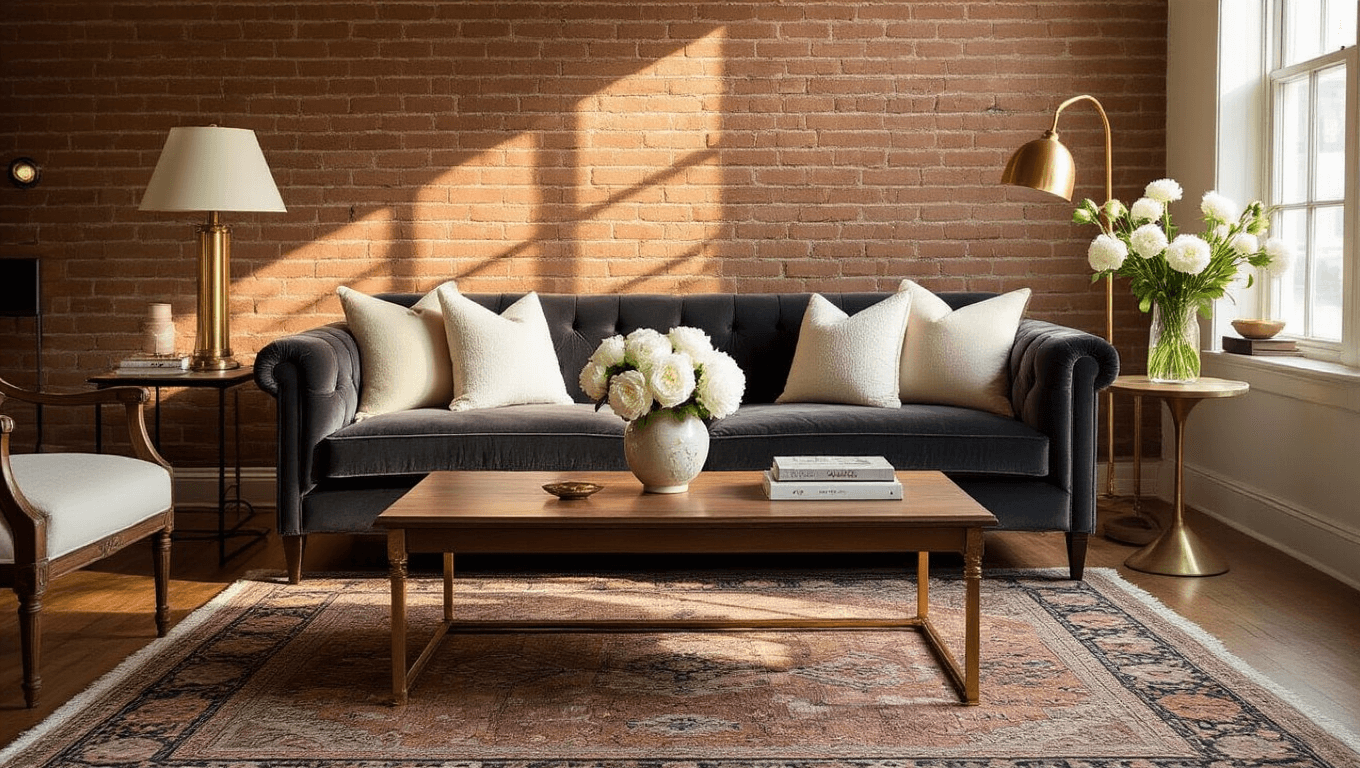
1. Botanical Magic
Flowers are your secret weapon.
Transform your room with:
- Fresh cut flowers in unexpected containers
- Strategic greenery placement
- Varied heights and textures of plants
2. Layering for Depth
Create visual interest by:
- Positioning objects at different depths
- Mixing vintage and modern pieces
- Using the “C-Shape” composition principle
3. Lighting Techniques
Lighting can make or break your photo:
- Shoot during golden hours (early morning/late afternoon)
- Turn on ALL interior lights
- Balance natural and artificial light
- Use soft, diffused lighting

Technical Photography Tips
Camera Settings for Perfection
- Aperture: F/9 to F/11
- ISO: Lowest possible (100-400)
- Shoot in RAW format
- Use a tripod for stability
Composition Secrets
- Shoot from chest height (40-48 inches)
- Include two walls in your frame
- Apply rule of thirds
- Utilize leading lines

Final Styling Checklist
Before hitting the shutter:
- Clean every surface
- Arrange furniture intentionally
- Add strategic accessories
- Check lighting balance
- Do a final visual walk-through
Post-Production Magic
Quick Editing Tips:
- Use exposure blending
- Correct perspective
- Develop consistent color grading
- Maintain natural feel

Pro Accessories to Elevate Your Shots

Final Thoughts
Room photography is part science, part art. It’s about creating a visual narrative that feels both intentional and effortless. Practice, experiment, and most importantly—have fun with it!
Remember: Every great photo tells a story. Make yours worth telling.


