Nightwing cosplay is one of those projects that looks absolutely killer when done right, but can feel pretty overwhelming when you’re staring at reference photos wondering where to even start.
I get it.
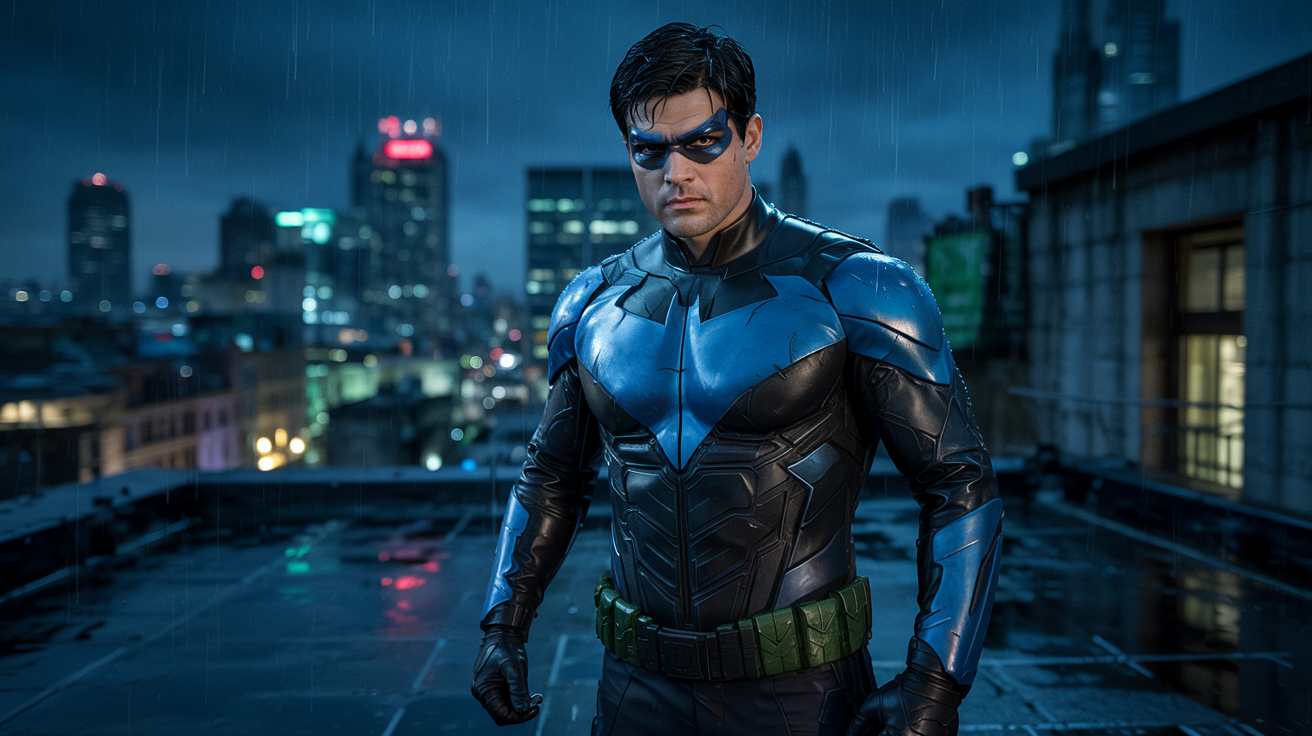
You’re scrolling through Instagram or Pinterest seeing all these incredible cosplayers rocking that iconic blue and black suit, and you’re thinking “I want that… but how?”
Good news is, you’ve got options.
And I’m gonna walk you through both of them so you can figure out what works best for you, your skills, and yeah, your wallet.
")
Should You DIY or Buy? Let’s Be Real About This
Contents
Look, I’m not gonna sugarcoat it.
Building a Nightwing costume from scratch takes time, patience, and a willingness to mess up a few times before you get it right.
But buying pre-made? That’s got its own trade-offs too.
Here’s what I learned after going down this rabbit hole myself.
DIY is for you if:
- You love crafting and actually enjoy the building process
- You want something totally custom that fits your body perfectly
- You’ve got time to invest (we’re talking weekends, not just an afternoon)
- You want bragging rights at the con
- Your budget is tighter but you’ve got the skills
Pre-made is better if:
- You need the costume like, yesterday
- Crafting stresses you out more than it excites you
- You’d rather spend your time on other aspects (wig styling, makeup, props)
- You’ve got the budget and just want something that works
- This is your first cosplay and you wanna test the waters
Neither option is “better” than the other, honestly.
It just depends where you’re at right now.
")
The DIY Route: Building Nightwing Armor from Foam
Alright, so you’ve decided you wanna build this thing yourself.
Respect.
Here’s what you’re getting into.
What Materials You’ll Actually Need
First things first, let’s talk shopping list.
You’re gonna need 5mm craft foam as your main material. This stuff is a lifesaver for armor pieces because it’s lightweight, flexible, and heat-formable.
Other essentials:
- Contact cement (this is your best friend for foam work)
- Hot glue gun and plenty of glue sticks
- Heat gun for shaping the foam
- Elastic straps in various widths
- Velcro strips (both hook and loop sides)
- Zippers if you’re doing a bodysuit base
- Metallic blue and black paint
- Weathering paints (metallic silver, dark gray)
- Sealant spray to protect your finished work
The total material cost usually runs somewhere between $50-$100 if you’re smart about it.
That’s way less than most pre-made options, but remember you’re paying with time instead.
")
Breaking Down the Armor Pieces
Nightwing’s suit has a bunch of distinct armor sections.
Don’t freak out, we’ll go through them one by one.
Torso Protection:
The chest and abs are probably the most important visual pieces.
You’ll be making separate sections for the abdominal area and the spinal/back section.
These need to look sculpted but also allow you to breathe and move, so don’t make them too rigid.
The technique here is called undercutting – basically you’re creating depth in the foam to mimic muscle definition.
Shoulder Pauldrons:
These sit on top of your shoulders and give that armored superhero look.
They’re smaller than you’d think, but they make a huge difference in the silhouette.
Arm Protection:
You’ll need bicep guards (upper arm) and forearm bracers.
These should be slightly curved to match your arm shape, which is where that heat gun comes in.
Leg Armor:
Shin guards and thigh guards complete the look.
The shin guards especially need to be durable since they might bump into things while you’re walking around a convention.
Cod Piece:
Yeah, we gotta talk about this.
It’s that protective piece at the front of the groin area, and most superhero suits have them.
It’s functional for the character and honestly helps the costume look more complete.
")
The Actual Building Process (Step by Step)
Step 1: Pattern Making
Before you touch that foam, you need patterns.
I know it’s tempting to just start cutting, but trust me on this.
Use paper or thin cardboard to create templates that fit your body.
Wrap the paper around the body part, mark where things overlap, and adjust until it fits right.
This is the most boring part but also the most important.
Step 2: Cutting and Beveling
Once you’ve got your patterns, trace them onto your craft foam and cut them out.
Here’s a trick I learned the hard way: bevel the edges.
That means cutting the edges at a 45-degree angle so when you glue pieces together, the seam looks smooth instead of chunky.
Step 3: Heat Forming
This is where the magic happens.
You take your heat gun and gently warm up sections of the foam until they become pliable.
Then you shape them to curve around your body parts.
For the chest piece, you might press it against a bowl or ball to create that outward curve.
For arm pieces, curve them into a cylinder shape.
Work in sections and don’t overheat or you’ll melt the foam. Ask me how I know.
Step 4: Adding Detail and Definition
This is where undercutting comes in.
Use a Dremel tool or even just a pencil with heat to create grooves that look like muscle separation or armor plating.
You’re basically drawing shadows into the foam itself.