How to Nail Toga Himiko Cosplay Makeup Like a Total Pro
Contents
I’m gonna be straight with you – Toga Himiko cosplay makeup is one of those looks that seems super intimidating at first.
But honestly?
Once you break it down into actual steps, it’s way more doable than you think.
I’ve watched so many cosplayers nail this character’s vibe, and the secret isn’t some crazy expensive product or professional skill.
It’s about understanding what makes Toga… well, Toga.
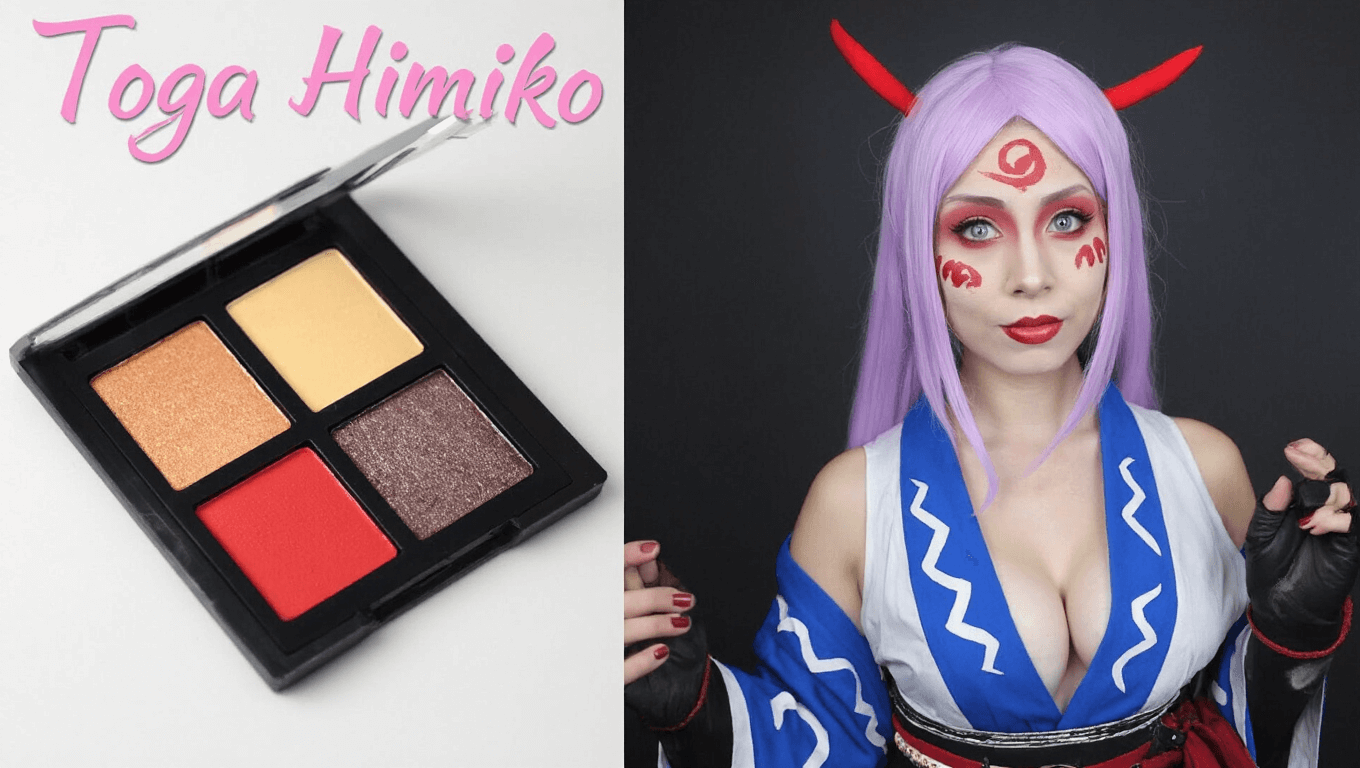
Those big golden eyes, the creepy-cute dark circles, that flushed face that makes her look equal parts adorable and slightly unhinged.
That’s what we’re going for here.
And I’m gonna walk you through every single step so you can pull this off whether it’s your first cosplay or your fiftieth.
Let’s get into it.

Why Toga’s Makeup Hits Different
Before we dive into the actual tutorial, let me tell you why this look is so iconic.
Toga isn’t your typical anime villain.
She’s got this whole yandere aesthetic going on – sweet on the outside but absolutely chaotic underneath.
Her makeup reflects that perfectly.
The rosy cheeks and bright eyes scream “cute schoolgirl,” but then you’ve got those dark undereye circles that tell a whole different story.
It’s that contrast that makes the look so memorable.
And honestly, it’s what makes it fun to recreate.
You’re not just slapping on some eyeshadow and calling it a day.
You’re building a character’s entire personality on your face.
Which sounds dramatic, but it’s kinda true.

What You’ll Need Before Starting
Okay, real talk – you don’t need a million products for this.
But there are some key items that’ll make your life way easier.
Here’s what I recommend having on hand:
Base Products:
- Primer (any drugstore one works fine)
- Foundation or full-coverage concealer in a pale shade
- Translucent setting powder
- Beauty sponge or blender
Eye Products:
- Brown eyeshadow (light and dark shades)
- Pink eyeshadow
- Red or burgundy eyeshadow
- Black eyeshadow
- Liquid eyeliner (black)
- White eyeliner pencil
- Volumizing mascara
- False eyelashes (full strip or individual)
- Angled brush for brows
- Blending brushes
Face Products:
- Pink blush (the rosier the better)
- Highlighter powder
- Fluffy brushes
Lips:
- Pale pink lip tint or lipstick
Special Items:
- Yellow or golden contact lenses
- Fake fangs (you can use costume ones or even cut fake nails)
- Setting spray
Don’t stress if you don’t have every single thing.
Work with what you’ve got and adapt.
That’s literally what cosplay is about.

Step 1: Prep Your Canvas
I know this seems boring, but trust me – skipping prep is where most people mess up.
Start with clean skin.
Wash your face, pat it dry, then apply a lightweight moisturizer.
Give it like five minutes to actually sink in before moving on.
Nobody talks about this enough, but if you slap primer on wet skin, everything just slides around all day.
Once your moisturizer is absorbed, apply primer all over your face.
Focus especially on your T-zone if you get oily there.
The primer is gonna help everything else stick and last through hours of wearing your cosplay.

Step 2: Building That Pale Base
Toga’s got that pretty pale complexion, so this is where foundation choice matters.
You’ve got two options here, and both work.
Option 1: Traditional Foundation
Apply your foundation in sections – forehead, cheeks, chin, nose.
Use a slightly damp beauty sponge to blend it out.
The dampness stops the sponge from soaking up all your product like a greedy little sponge monster.
Bounce it across your face in a stippling motion rather than dragging.
Option 2: Concealer as Foundation
Some cosplayers actually prefer using concealer all over instead of foundation because it gives more coverage.
If you go this route, dot concealer on problem areas – under eyes, forehead, cheeks, chin, around your nose.
Then blend like your life depends on it with a beauty blender.
The key is building coverage without looking cakey.
Once your base is on, grab your translucent powder and a fluffy brush.
Press (don’t swipe) the powder all over your face to set everything.
This step is crucial because we’re about to do a lot of eyeshadow work and you don’t want it sticking to a tacky base.

Step 3: Eyebrows That Mean Business
Toga’s brows aren’t super dramatic, but they’re definitely defined.
In the anime, they’re a medium brown and pretty shapely.
Take an angled brush and brown eyeshadow (not black – that’s too harsh).
Fill in your natural brow shape, extending slightly if needed.